

I talked about my social anxiety regarding fences and neighbors here and I established my (limited) bona fides as to fence building here. This final fence ‘post’ will cover the actual event which took place starting in September last year and concluded early this spring. We originally sought out several contractors to get bids for this project. The local company most recommended was booked out more than a year and the only other one I could get to offer a bid came in quite a bit higher in cost than we were expecting.
I then started pricing out the DIY options and landed on one available at the local Menards. The Ultradeck fence kit is made from polyethylene and recycled wood fiber and has a finished look that doesn’t require painting or maintenance. Besides the fence pickets the kits come with the needed hardware and sleeves to cover the posts and backer rails - which are simple green treated lumber. We liked the look of the finished product but getting there was a lot more than I bargained for!
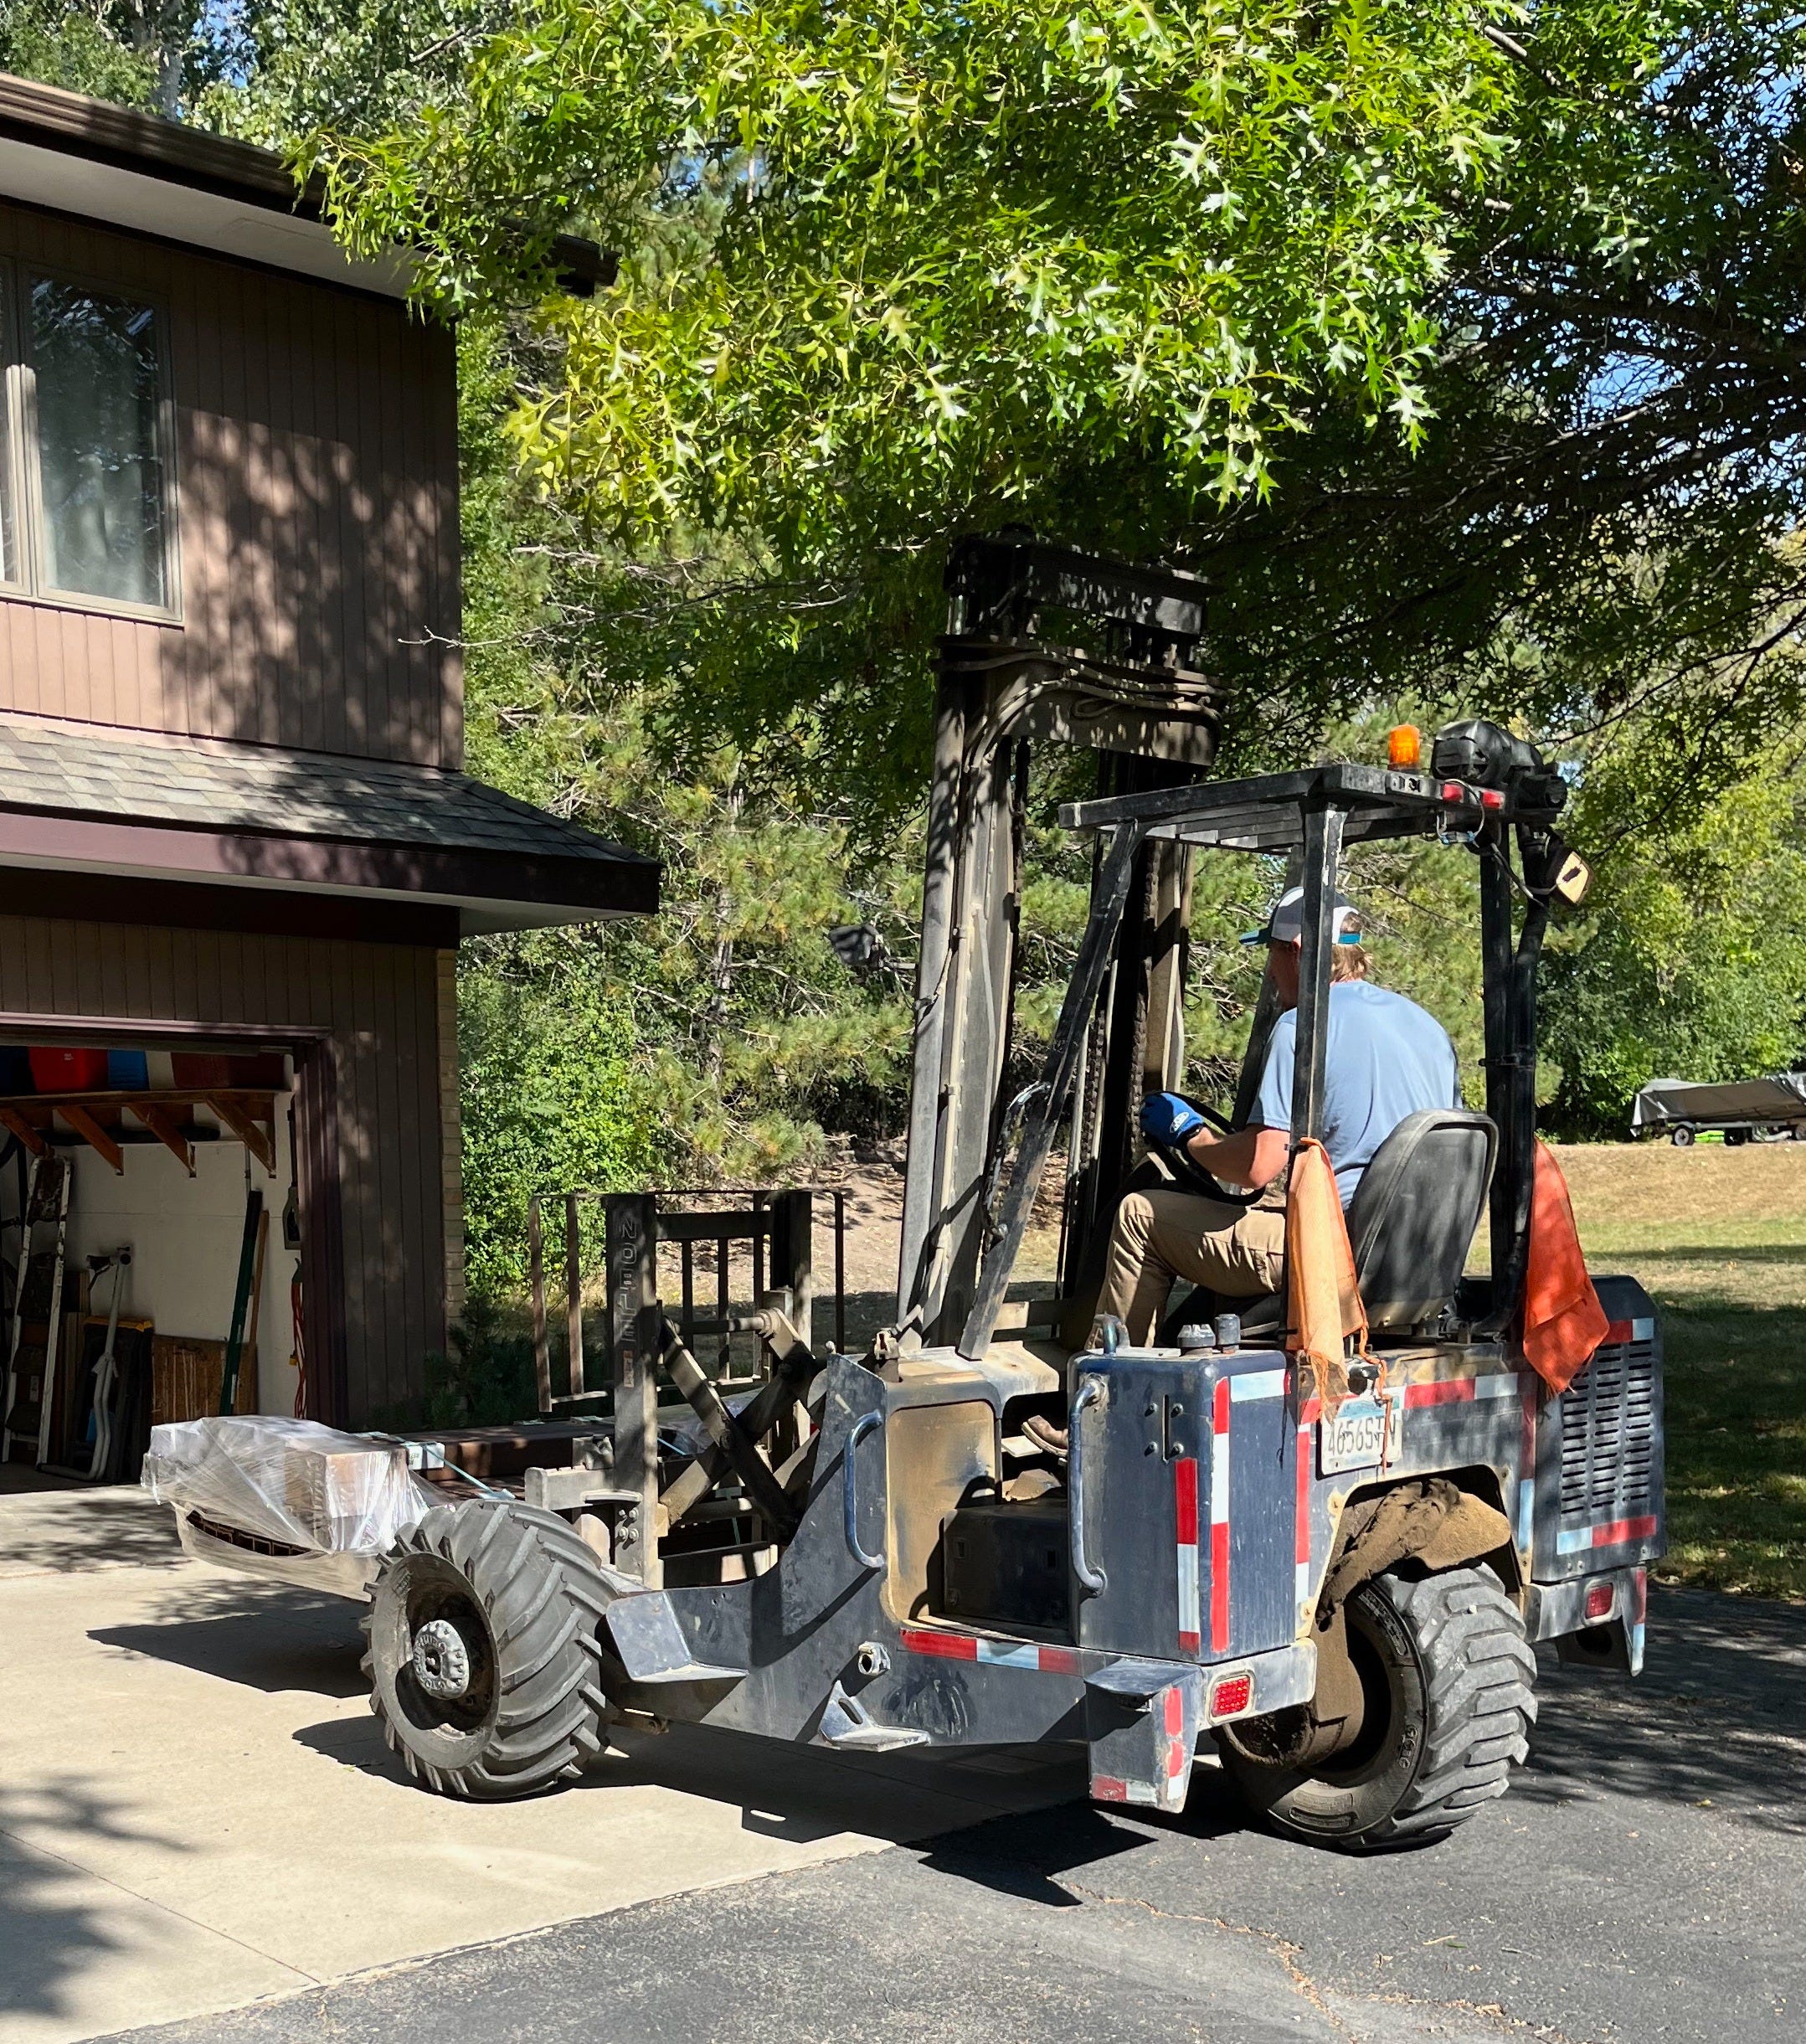
The materials arrived one morning on a full length flatbed semi trailer - I was quite impressed the driver was able to back down our little cul-de-sac on the first try. He dropped three large pallets of lumber and extras and left me to review the inventory.
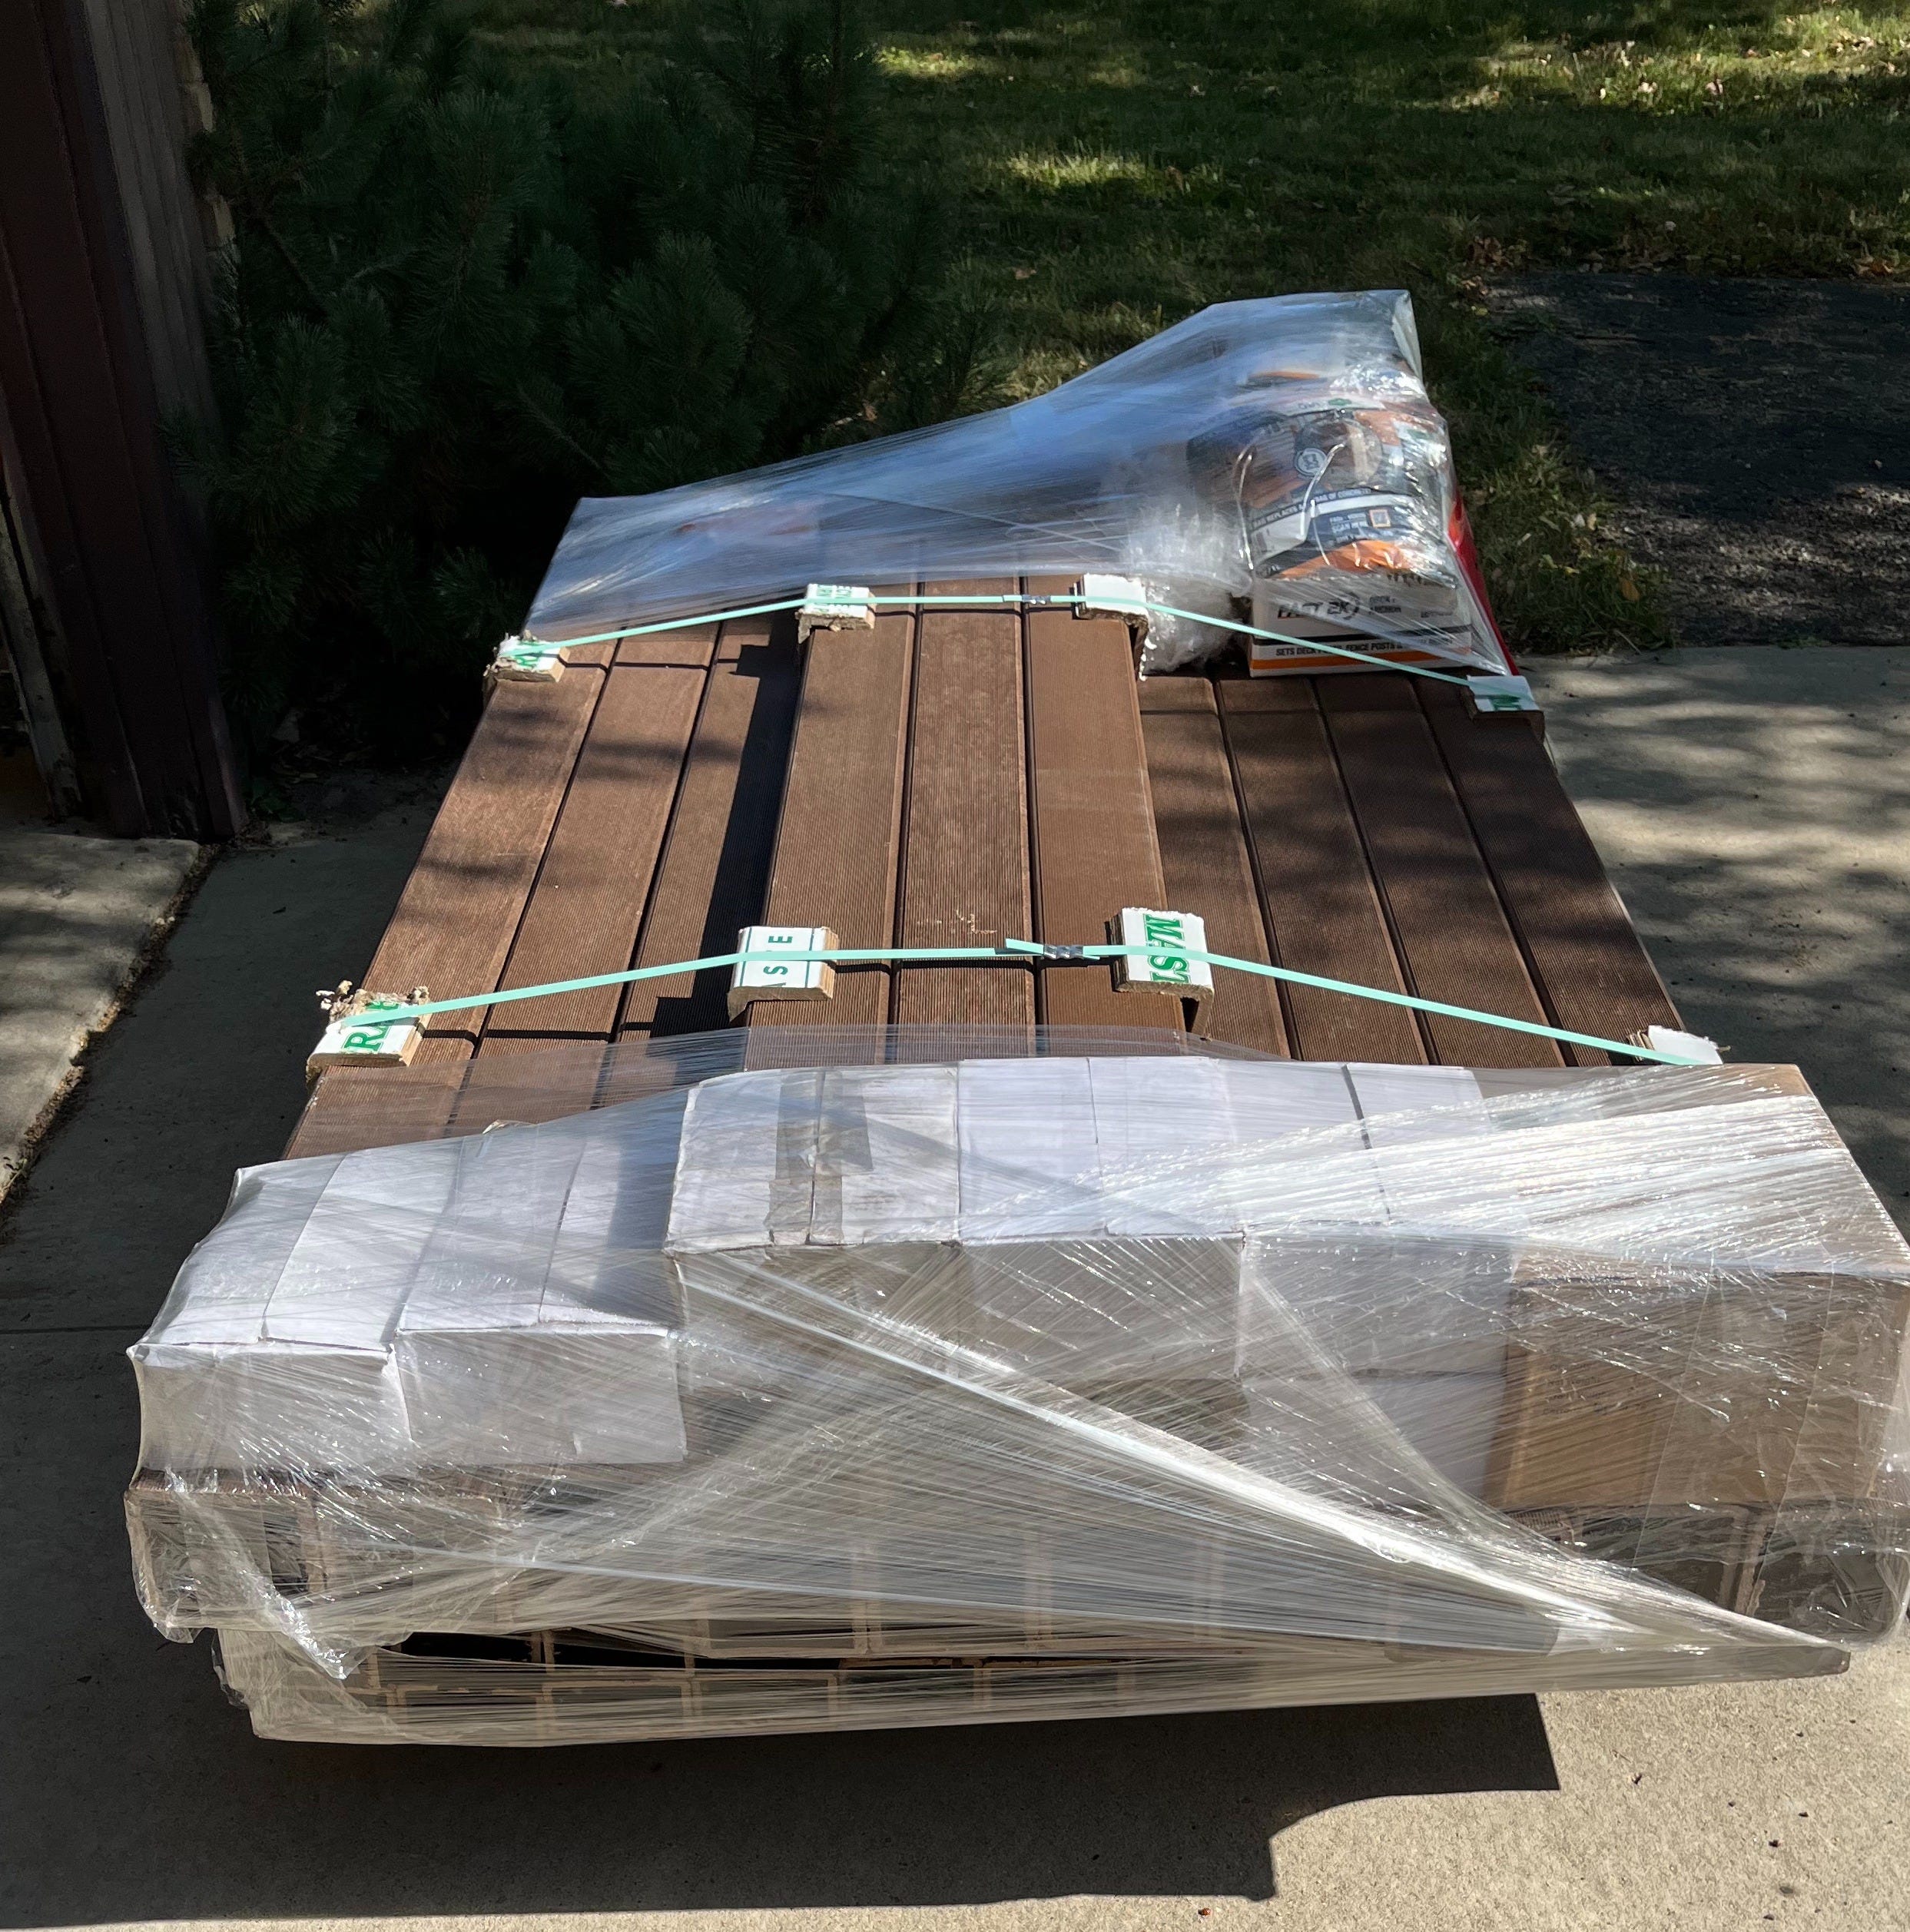
This next photo gives you an idea of the post sleeves and what they look like. They are meant to fit 4x4 posts and the backer boards (not shown) fit 2X4s. The boxes in front are full of wood deck screws and brackets. Of course I would be heading back to Menards later for more supplies but this kit is actually quite complete.
I checked the whole order and was impressed that nothing got missed - there were even a couple extra pickets on the skid. For the install I already had a post hole digger from another project - but I needed some extra encouragement for some of the rock and hard packed areas and that meant a post hole digging bar. These two in tandem were enough for me to get through a dozen of these posts over the course of the project. I never really considered the gas powered diggers you can rent - I was not pressed for time and figured the exercise would do me good. And so it begins!
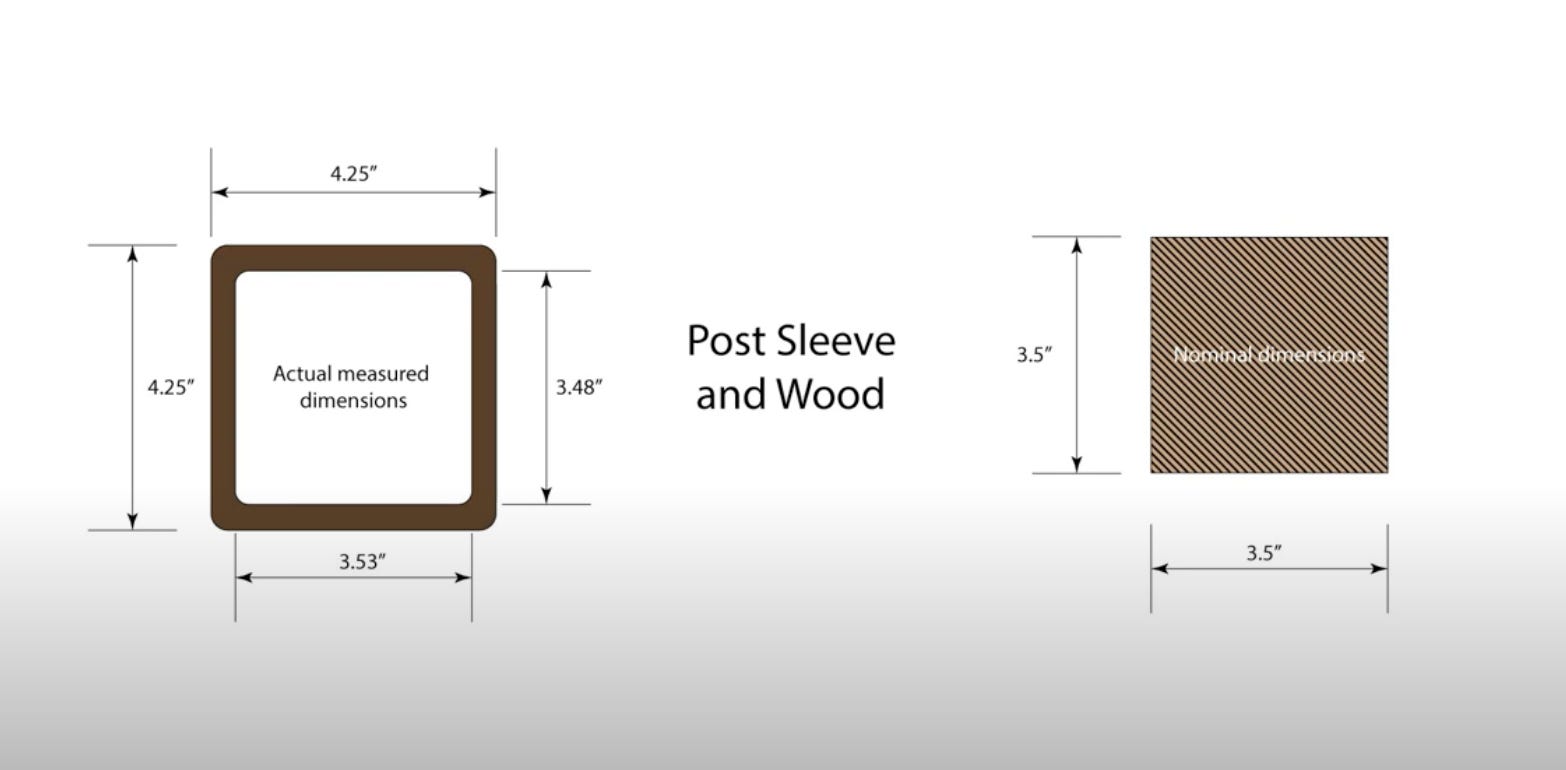
The provided instructions for this product recommend you create a jig or template and build each section of fence on the ground - later lifting it up and attaching between the posts set on six foot centers. The sleeves were to be attached after setting the 4x4 posts in the ground. All this seemed like a bad idea to me. The instructions were fairly brief - a couple pages only - and they did acknowledge that the assembled sections would be heavy enough to require two people to set in place. Luckily I found this YouTube video where someone bought this same fencing product with the intent of doing it solo and even though the content runs nearly an hour in length I found it very much worth my time to plug through it. The most useful bit comes about halfway through where the author lays out the biggest problem he faced - the composite sleeves are too snug for standard 4x4 posts.
The guy that made this video must be retired because not only did he build his own fence and make a video about it he also put together a helpful slide deck. I am very grateful for his insights and advice on this project.
In my case the 2x4 backer boards were also too snug so I ended up with a lot of extra cutting to get the sleeves in place. For every single 4x4 post and 2x4 backer board I had to use a circular saw set at 45 degrees to knock a bit off the edges of the treated lumber, and later a sledge hammer to coax the sleeve to slip over the posts or boards. This was possible working on the garage floor using the foundation as a stop while I pounded the other end. It would have been impossible to do this with the post in the ground sticking up in the air six feet or more!
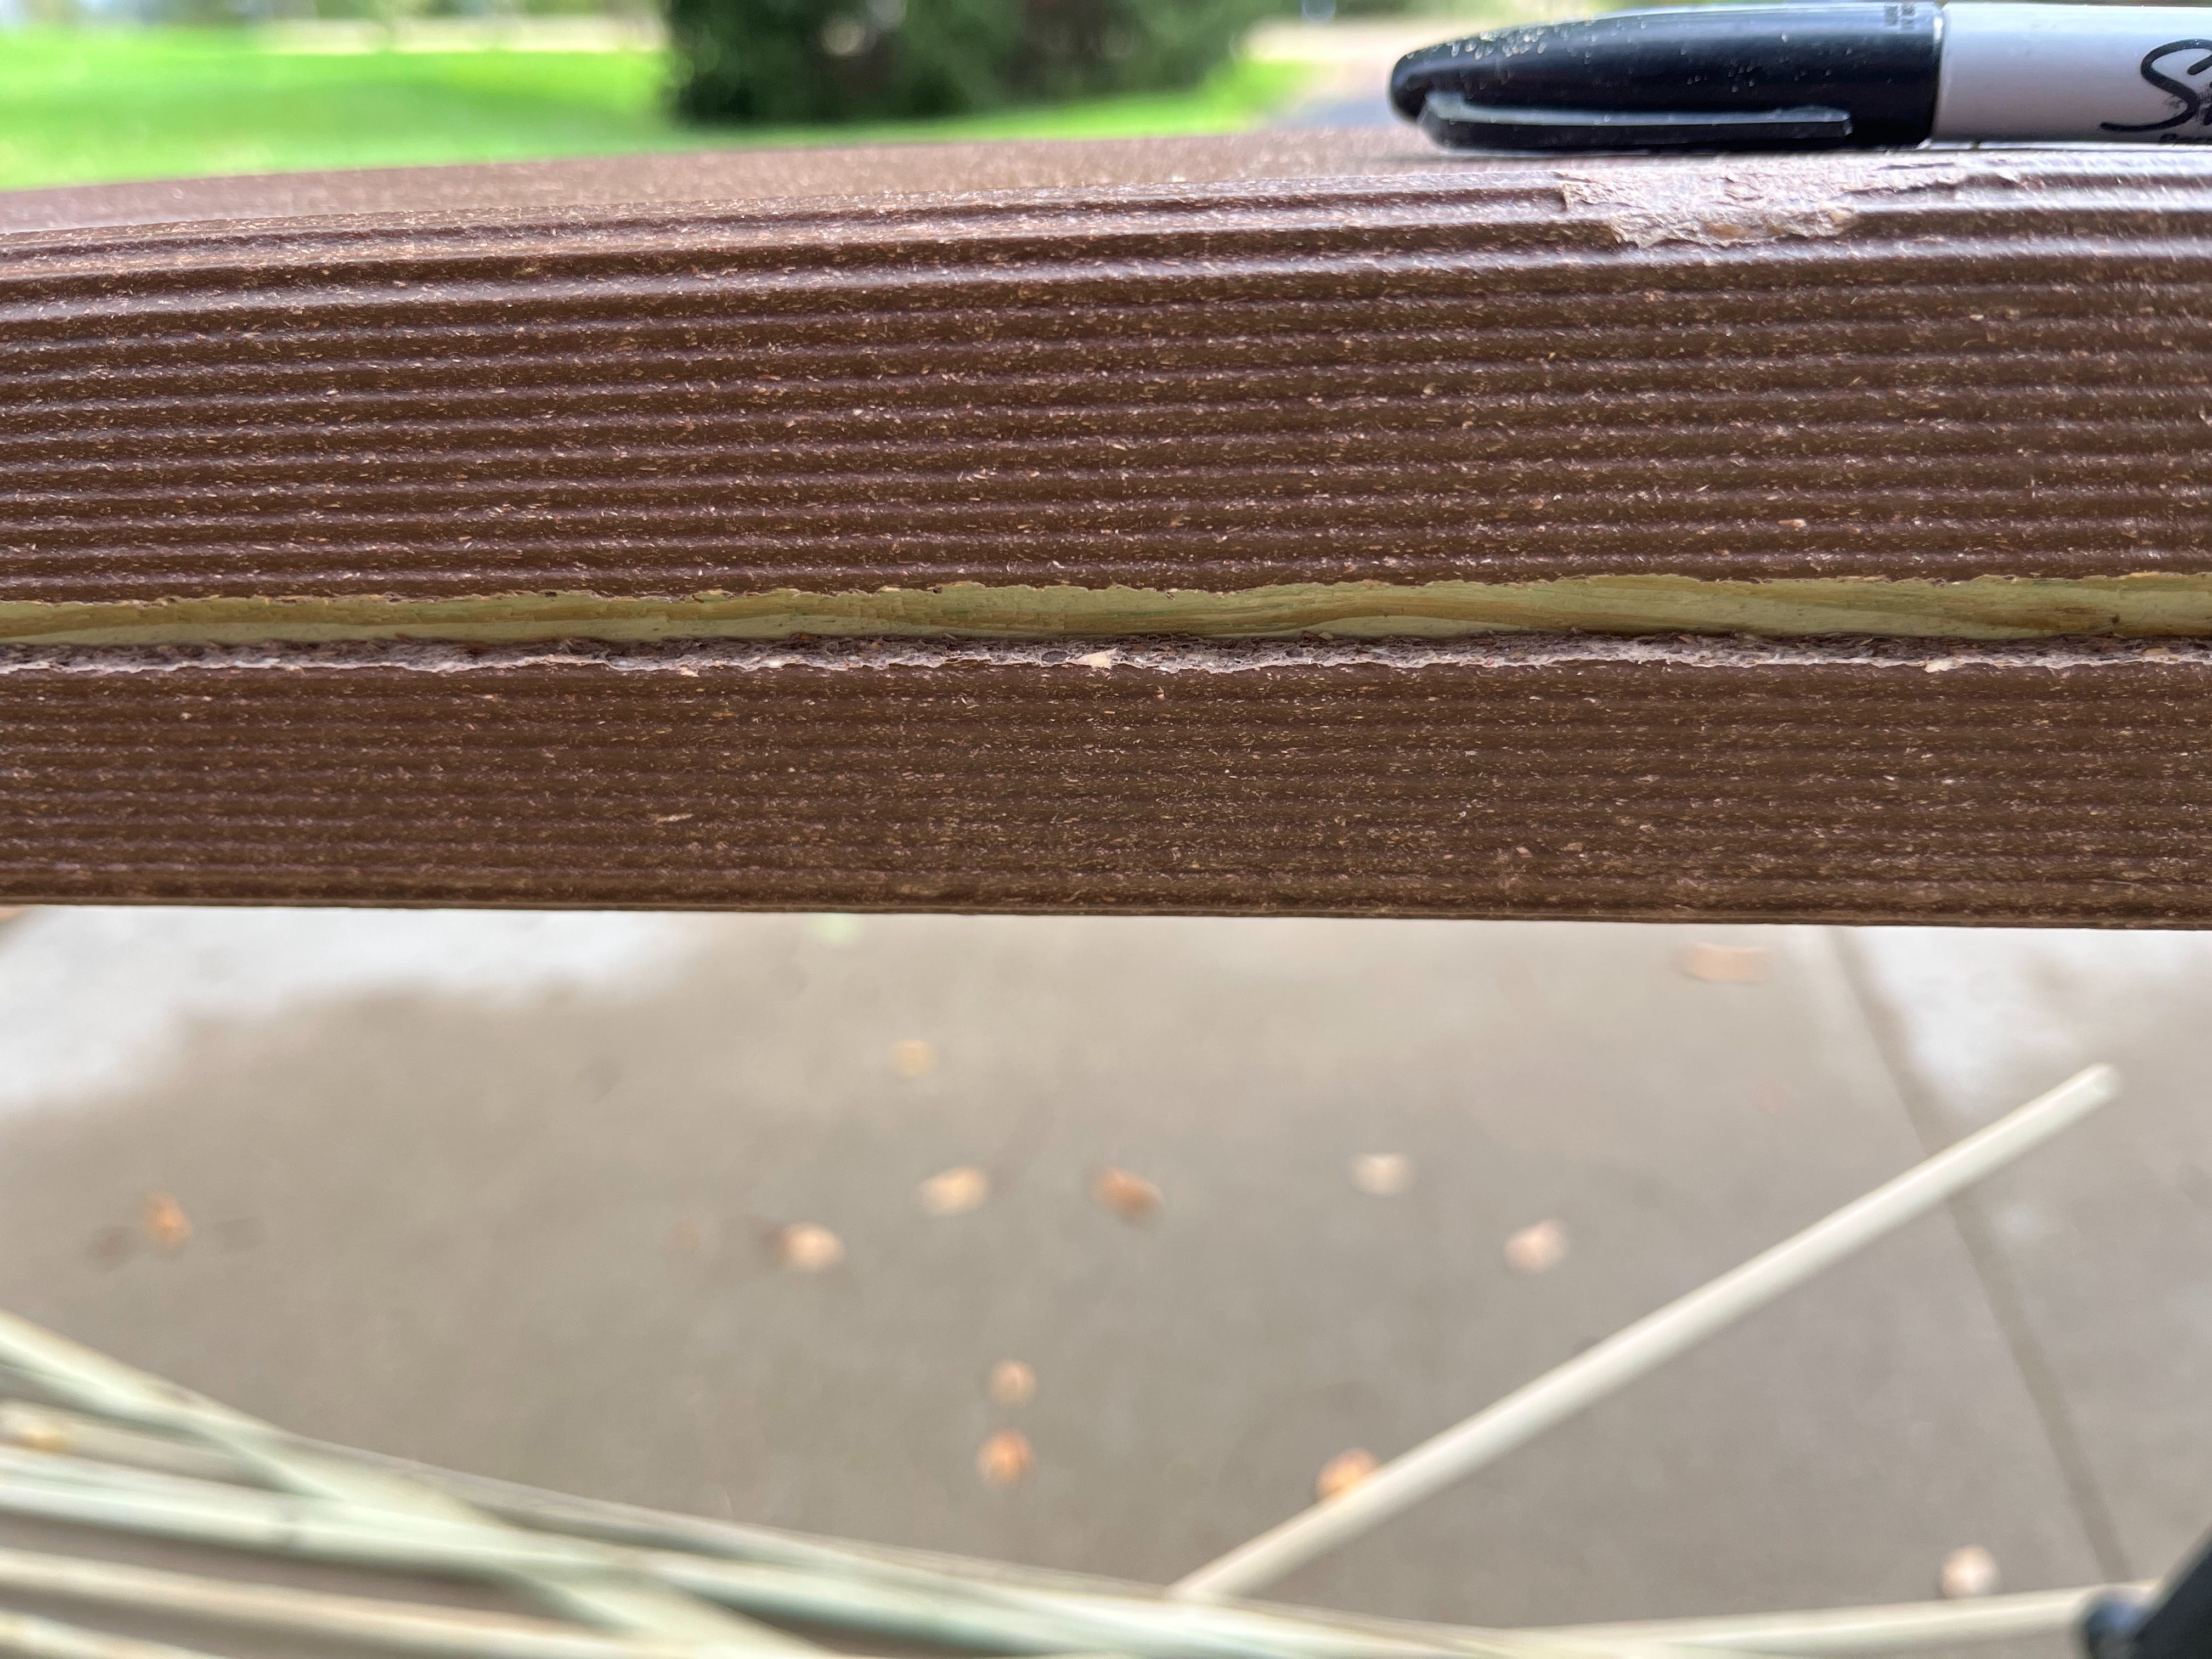
Sometimes I needed to cut more off the backer boards. Nominal sizing on green treated lumber is pretty variable and the composite will only stretch so far. You can see in the photo above exactly what happens when you try to fit a too big board in a too small sleeve.
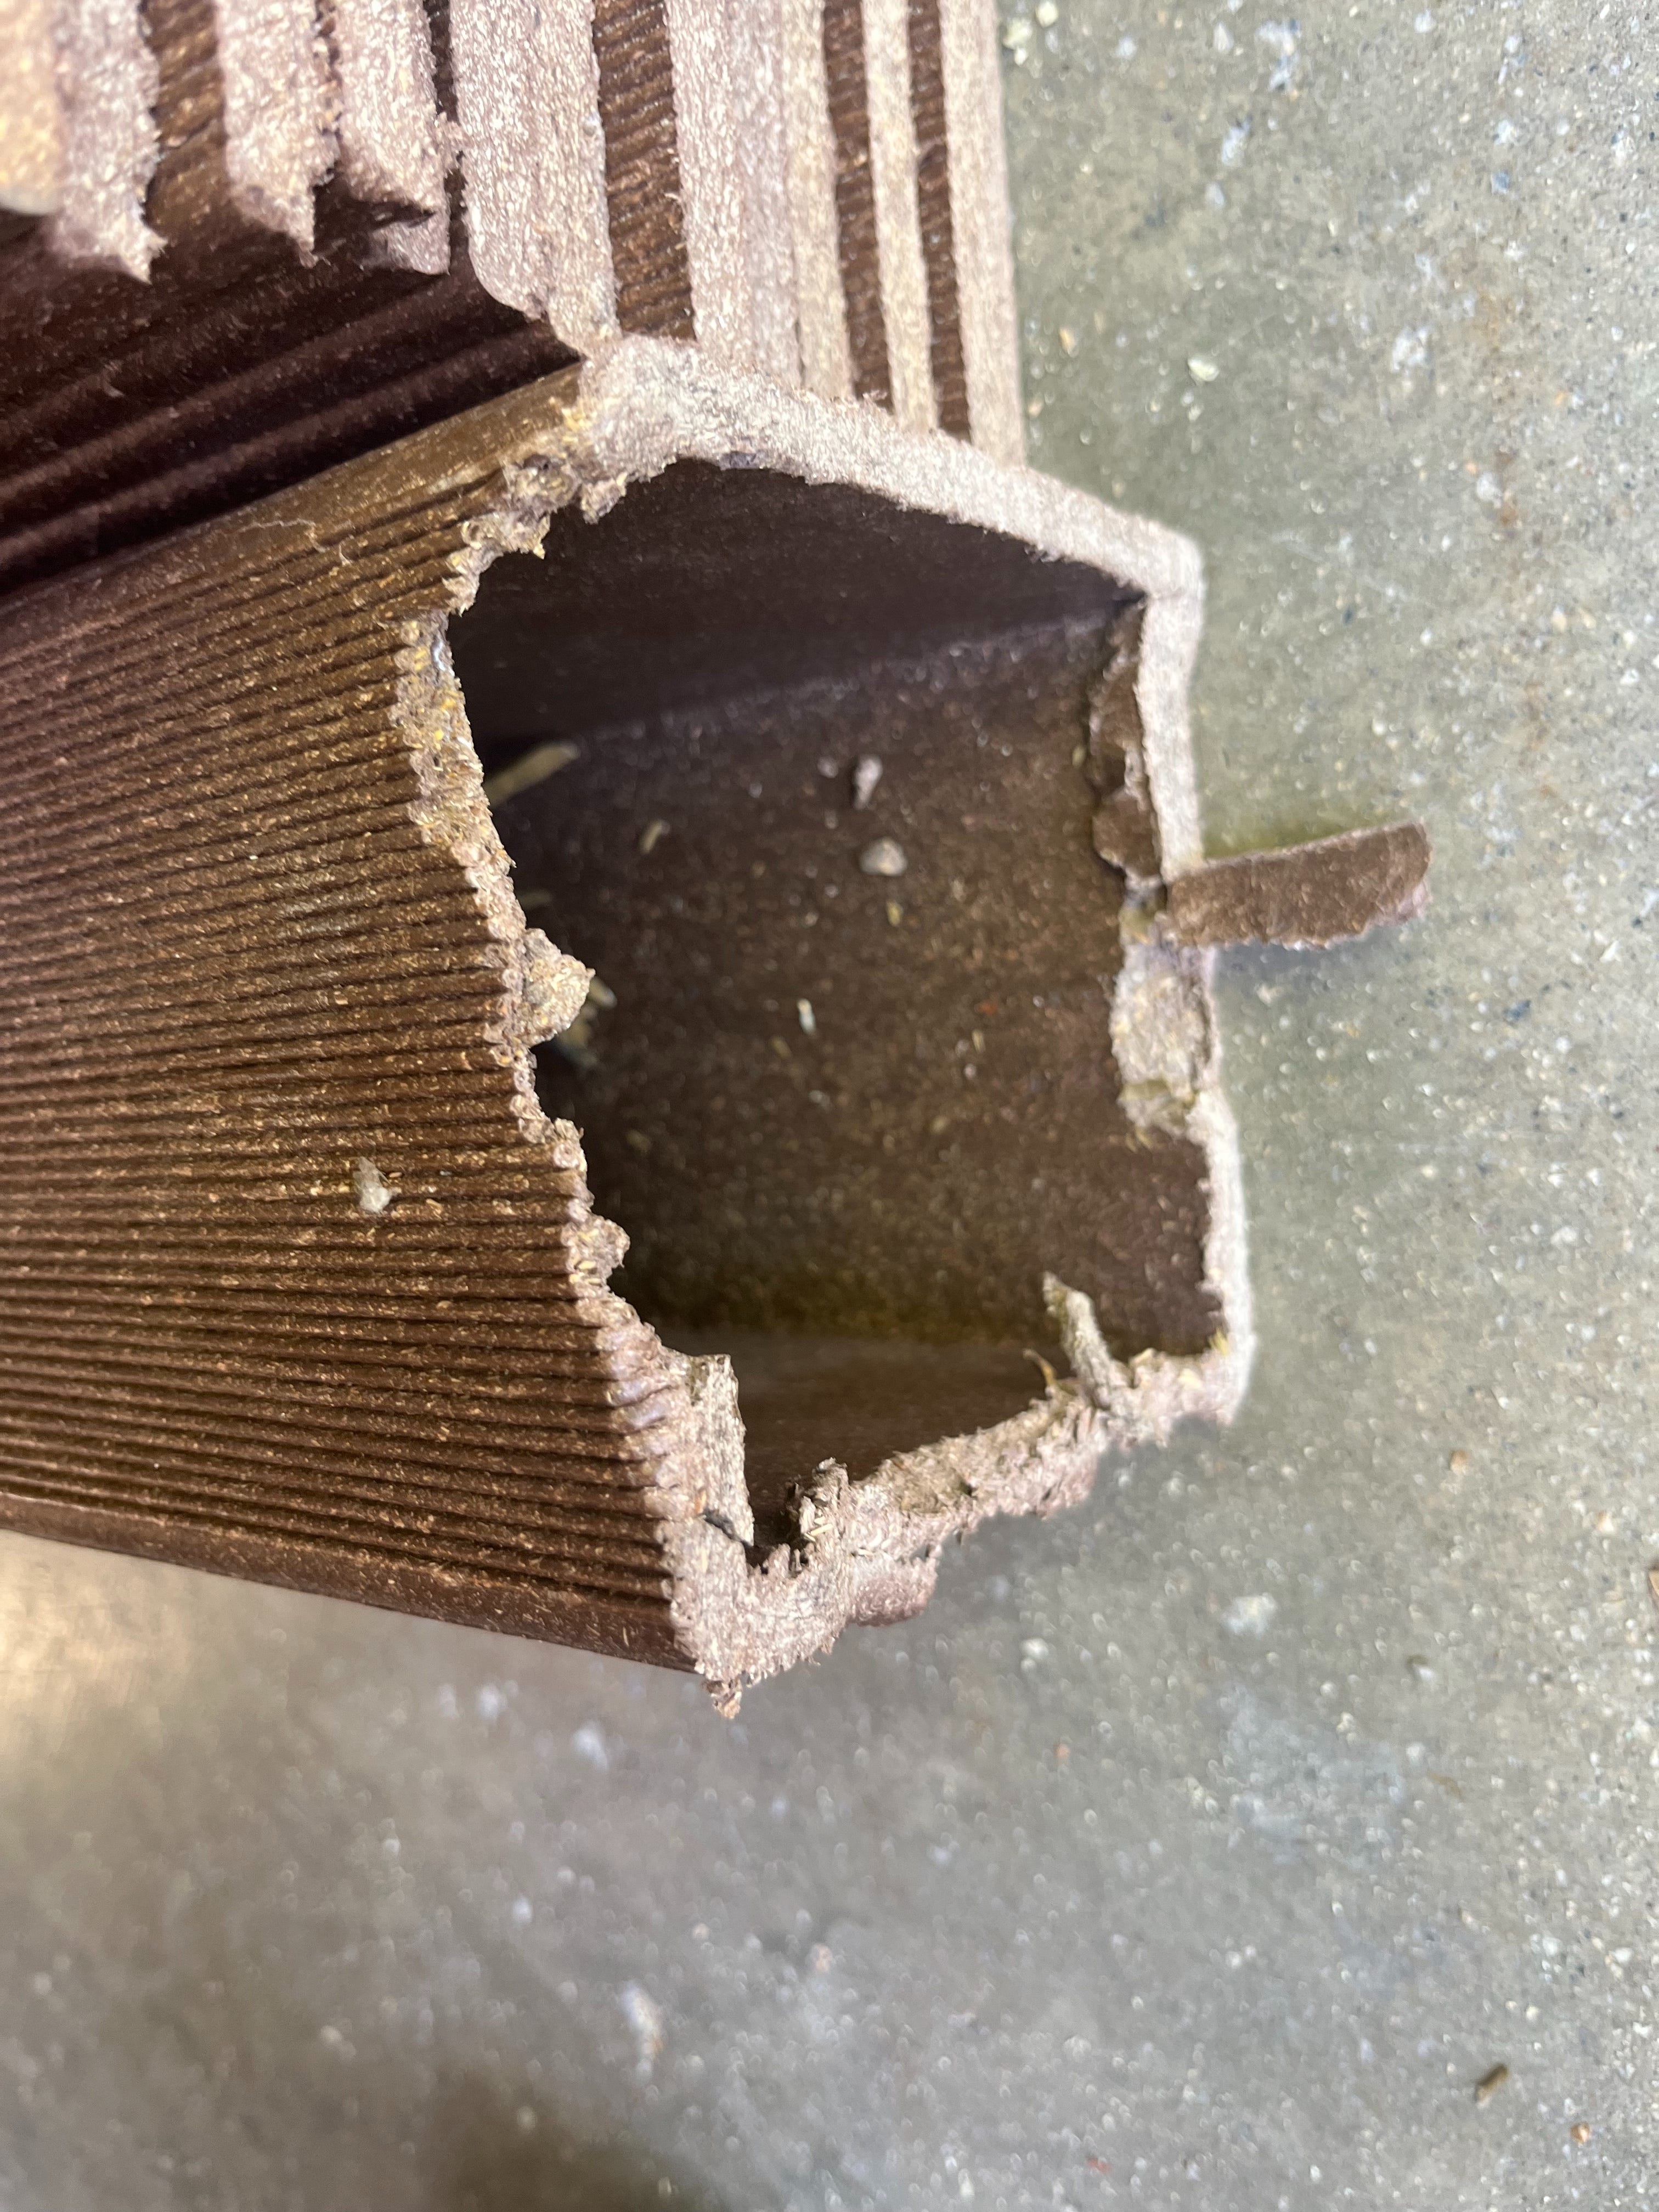
Using a sledge hammer the end of the composite sleeve would sometimes get mangled. Fortunately most of the supplied composite pieces were longer in length than advertised so the ends were cut off anyway. A few of the pickets delivered were in fact under advertised length so I had to do a return and buy a few more near the project’s end.
As the fence took shape last fall I was encouraged with the result - despite the extra prep work described above. The pickets too required extra effort - primarily because they had variable lengths but also because I wanted ‘dog eared’ tops for visual relief. Menards will sell pickets with straight cut or dog eared but I found the straight cut was all that was available in my area. I made a fixture to use with my miter saw and lopped off the edges of every picket to make my own version. I also pre-drilled the holes for the deck screws that would attach to the backer boards. It made it easier to tack them in later and gave a nice look to have the fasteners lined up consistently.
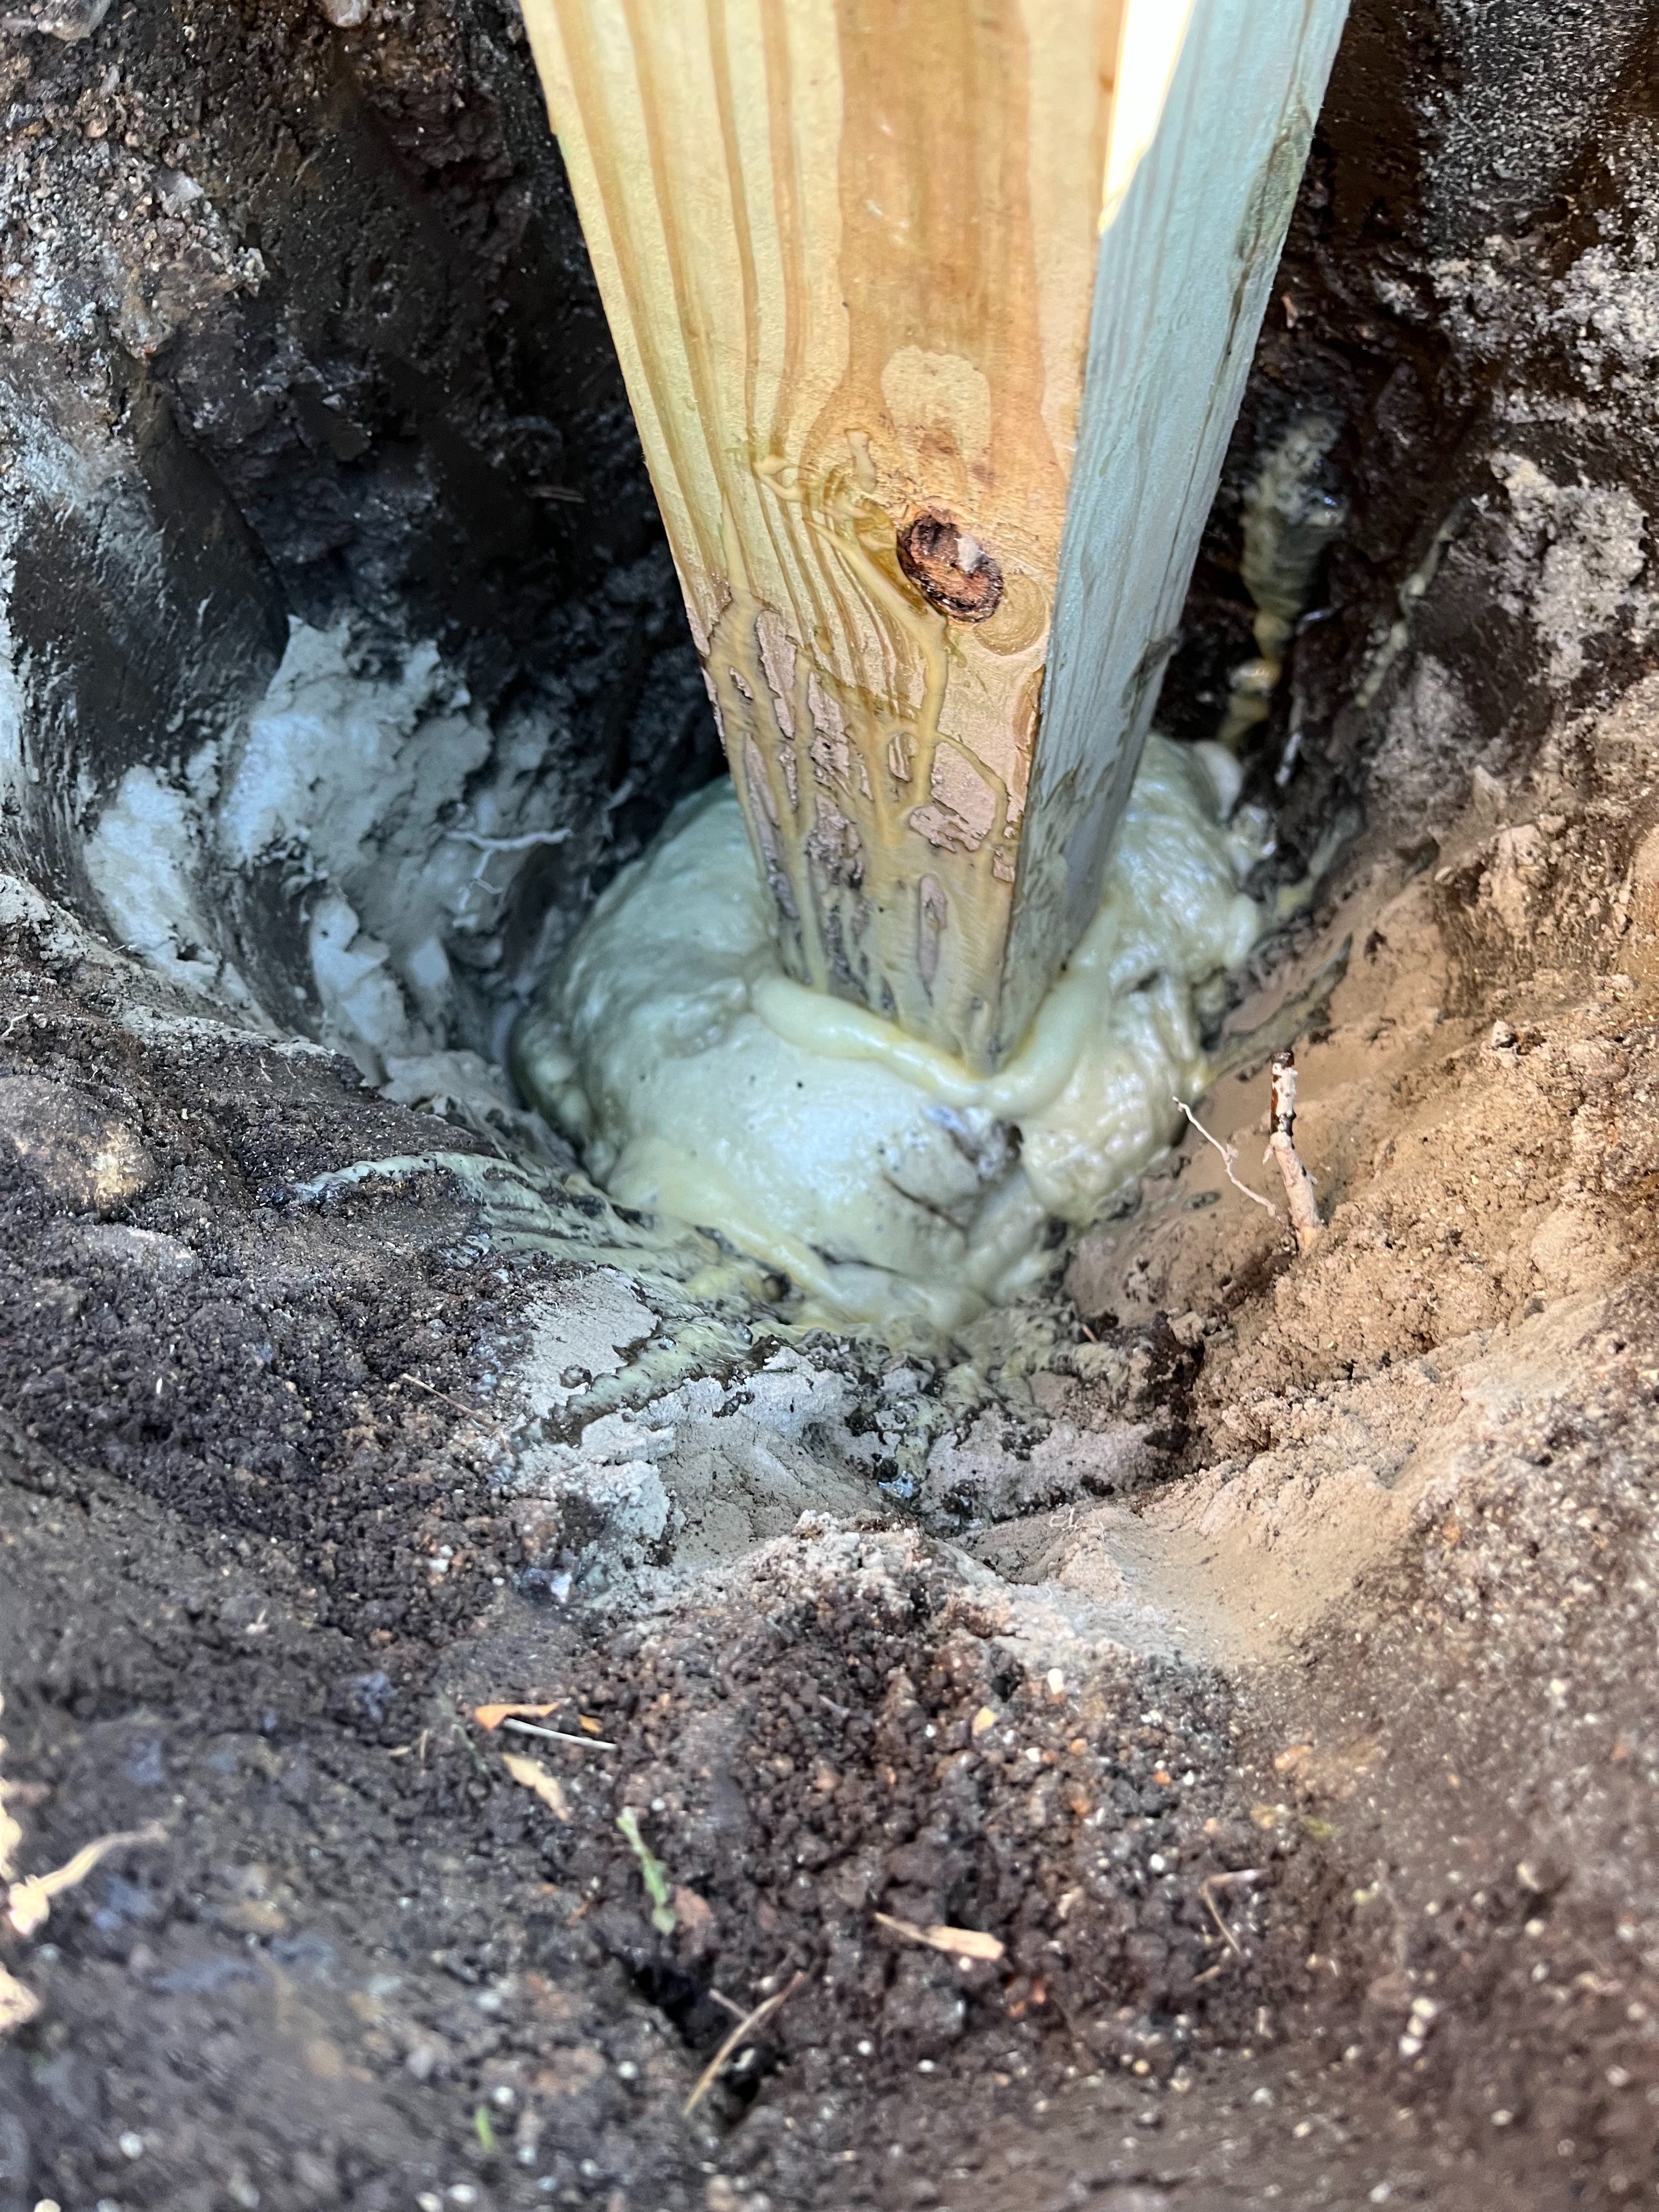
Setting the posts was about what I expected. Heavy enough work but using a special level and fast setting foam anchoring I was able to make good progress. The foam product was honestly amazing. A bit more expensive than concrete but so fast and easy to use I cannot complain about the extra cost. Once you activate the foam just pour the liquid down the hole and in minutes it expands to fill the opening. It’s firm enough to build with in 15 minutes so that’s another plus.
Just make sure your post is in perfect alignment before you pour the liquid! I had one post move on me somehow and once it was dry the outlier was very obvious. I left it that way for a day but ultimately went back and dug it up to start over. Here too the rework was much simpler than digging out concrete. I could chop through the dried foam with my digger bar and was able to clean out the pieces and start over. Measure more than twice before committing!
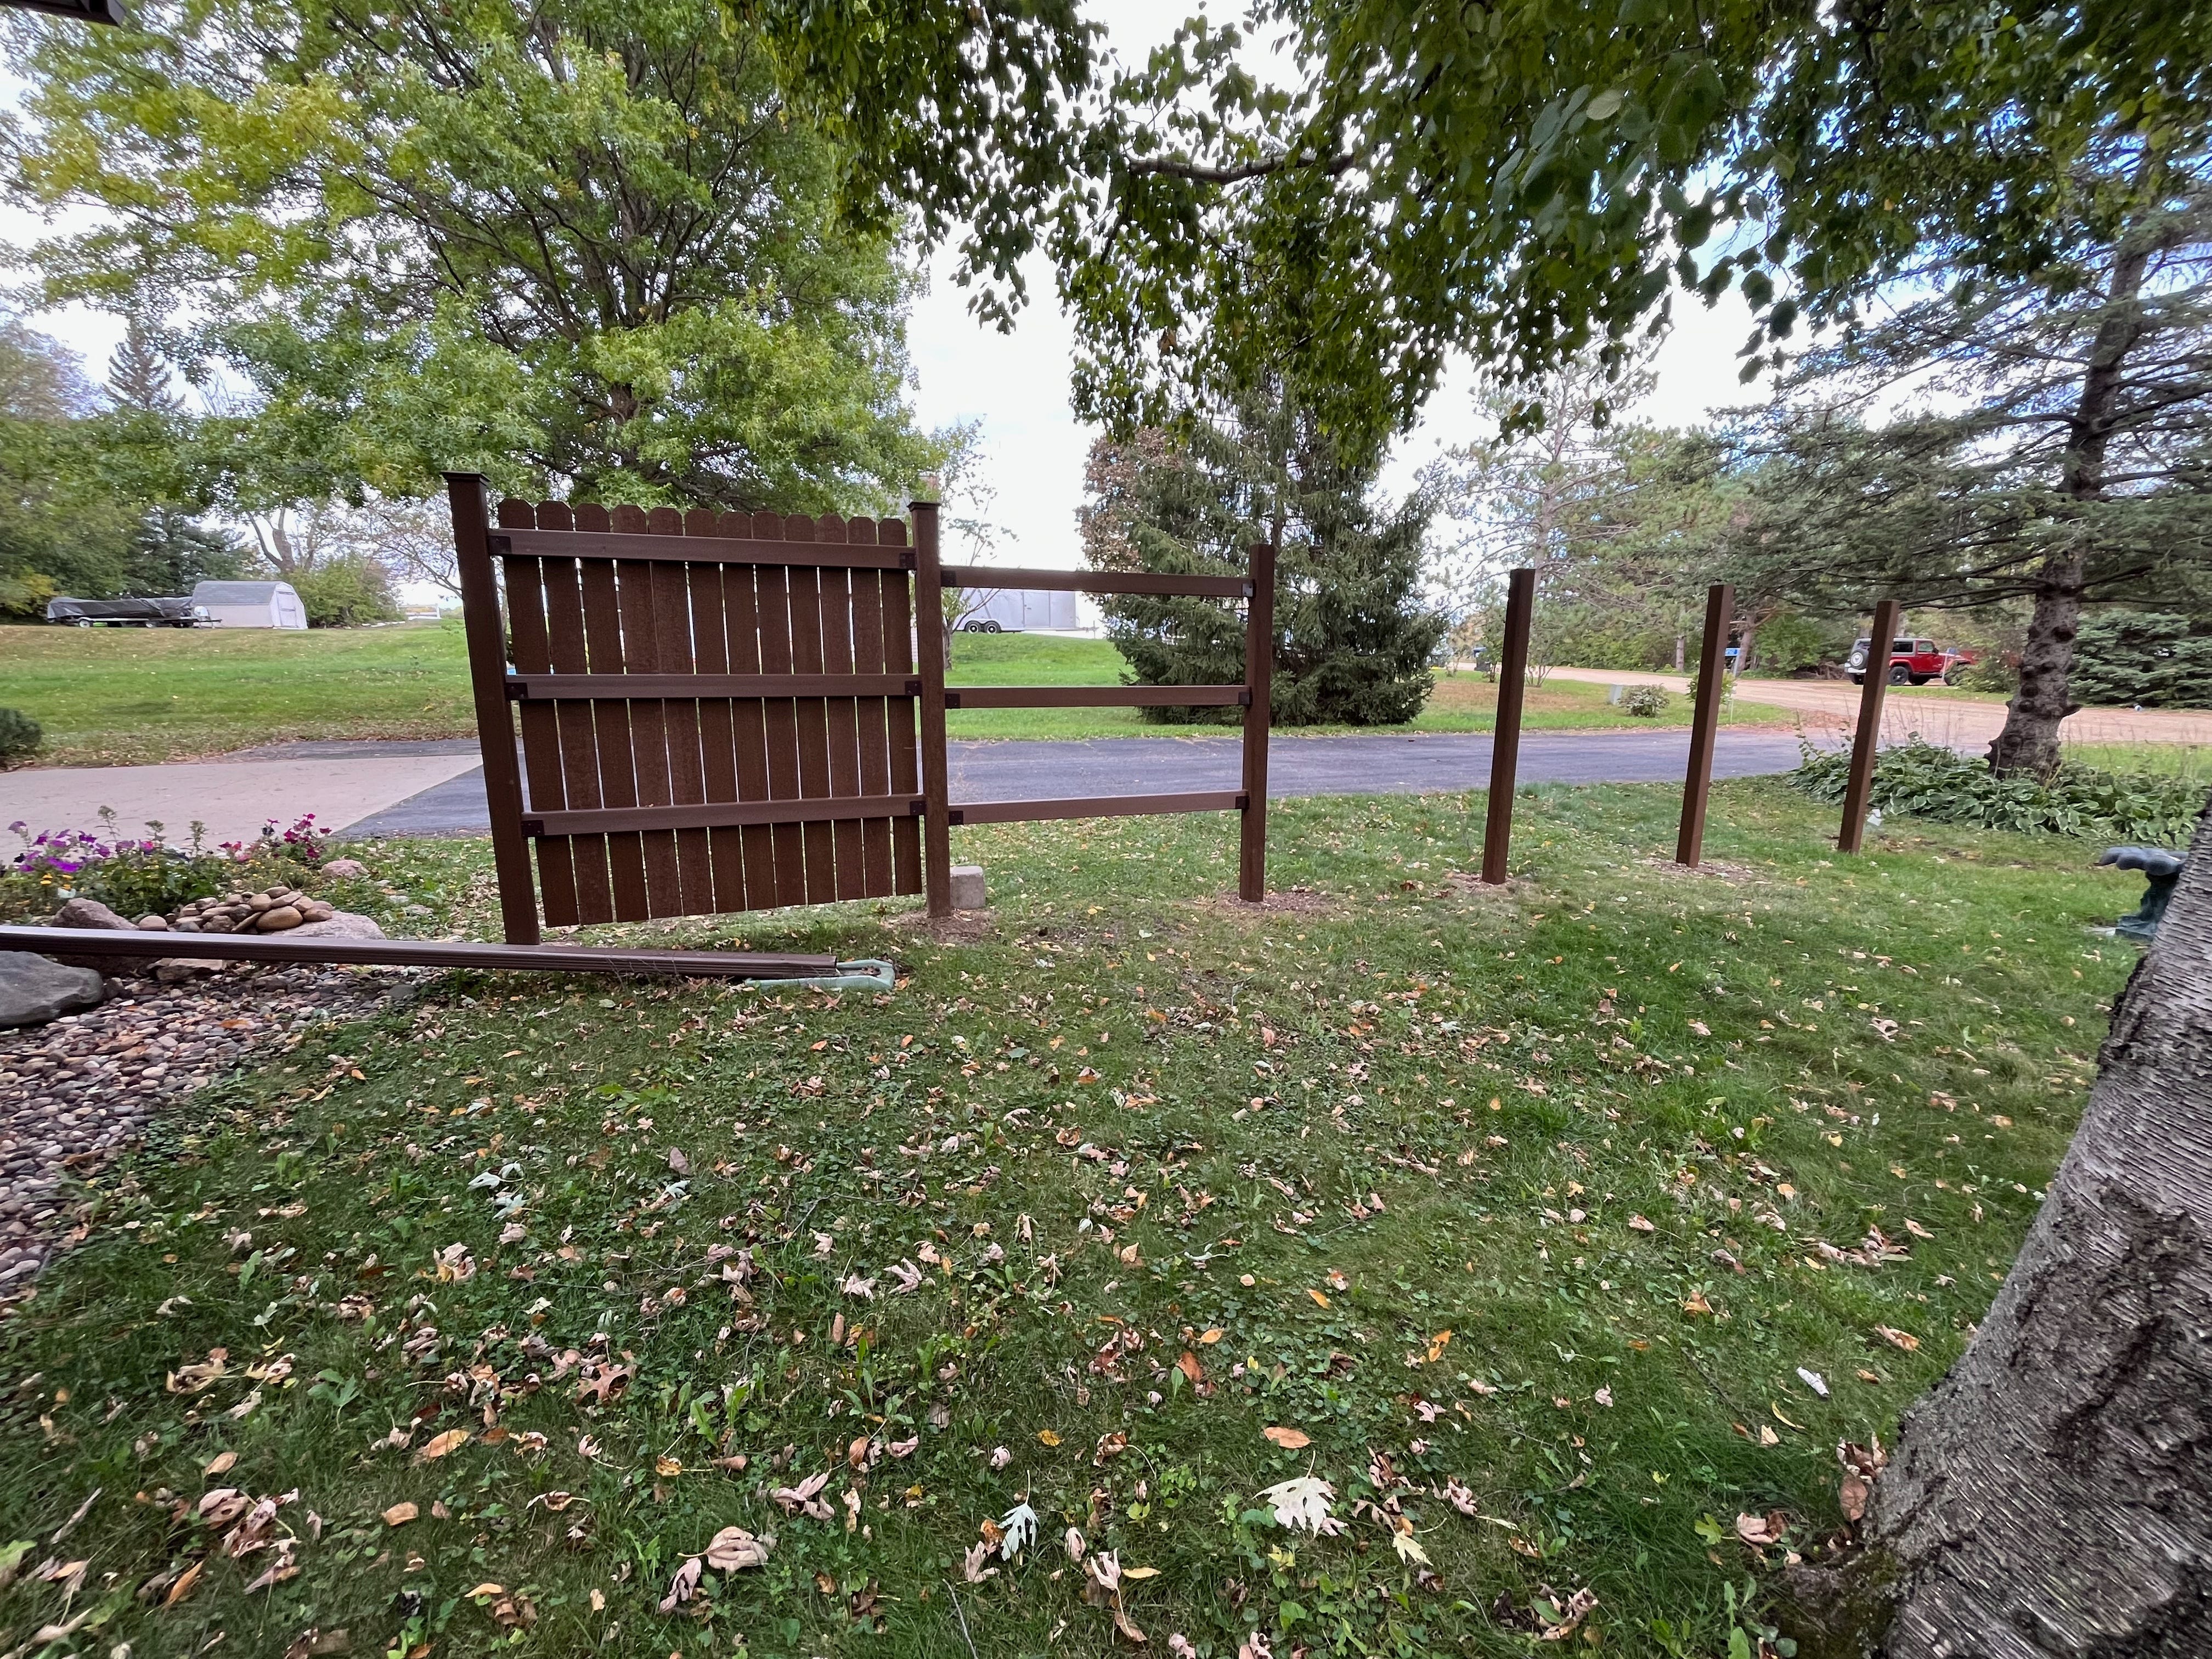
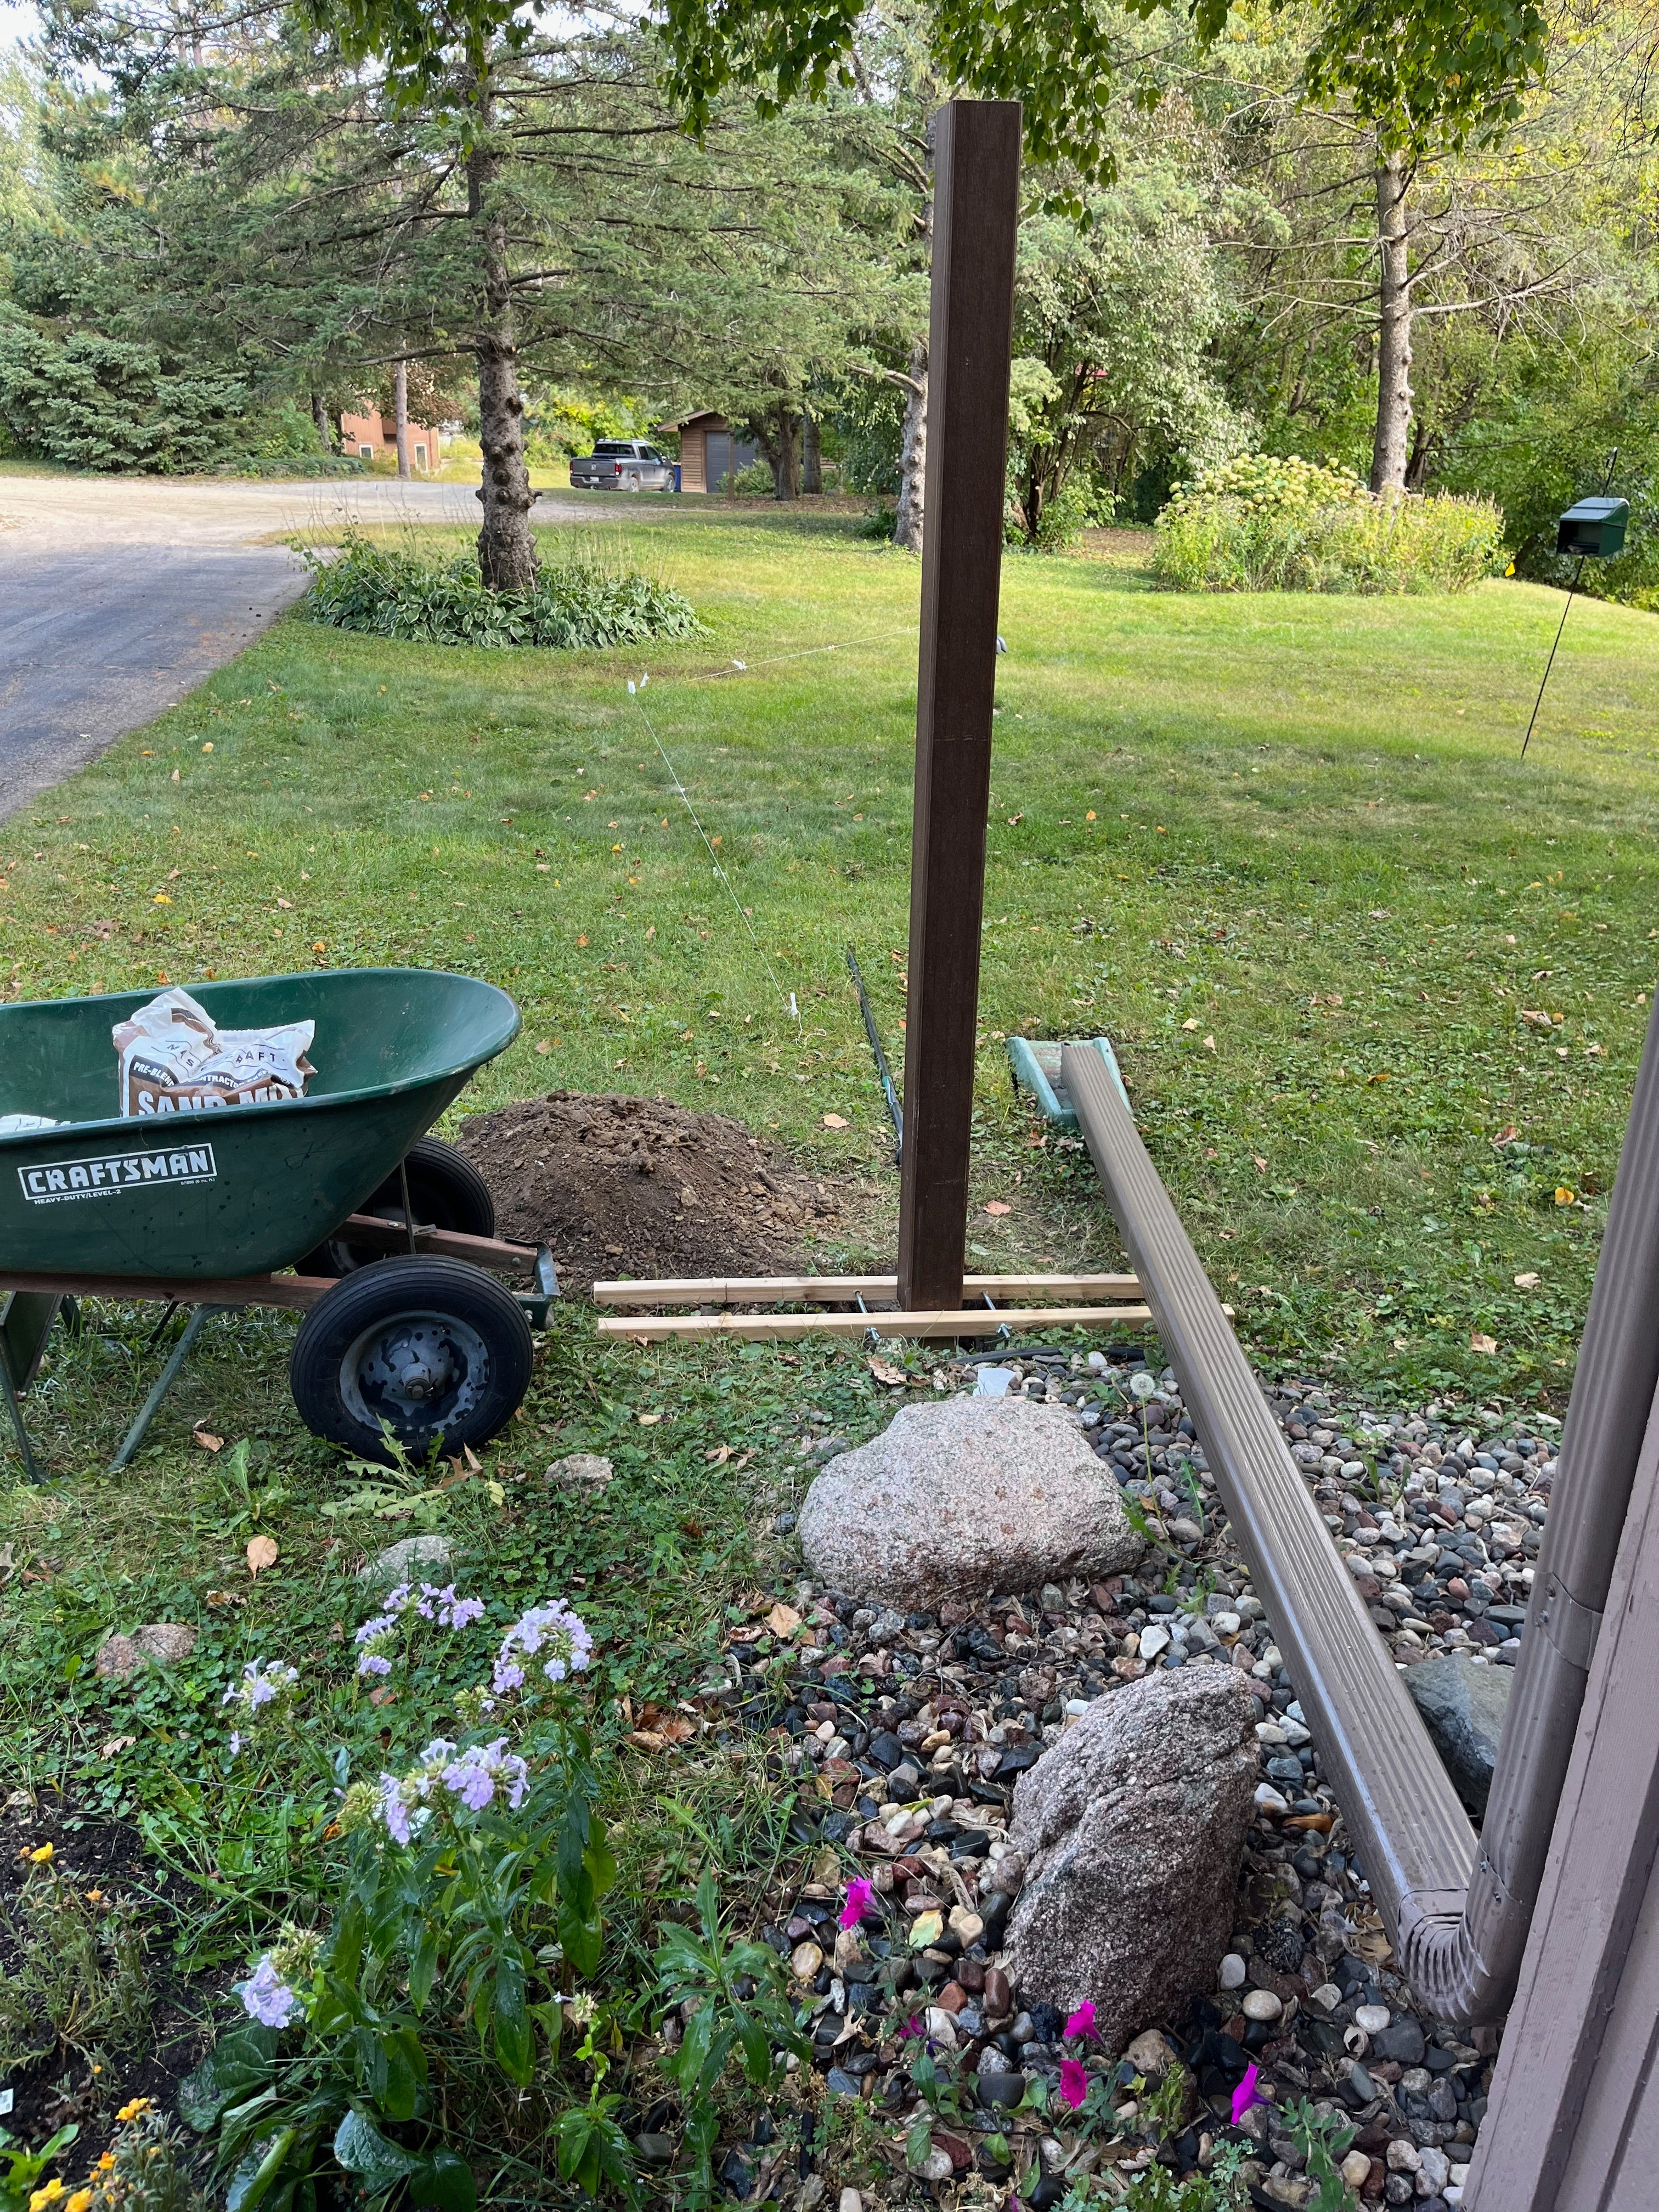
You can see the posts stray pretty far out into the yard. I purchased a cordless drill (and a box of driver bits) to help manage this install. The drill’s battery would cover a section or two of screws - six per picket - before the battery needed to be topped up. This aligned with my own energy level so I really didn’t need to go buy a second battery pack. I would have been too tired to run it.
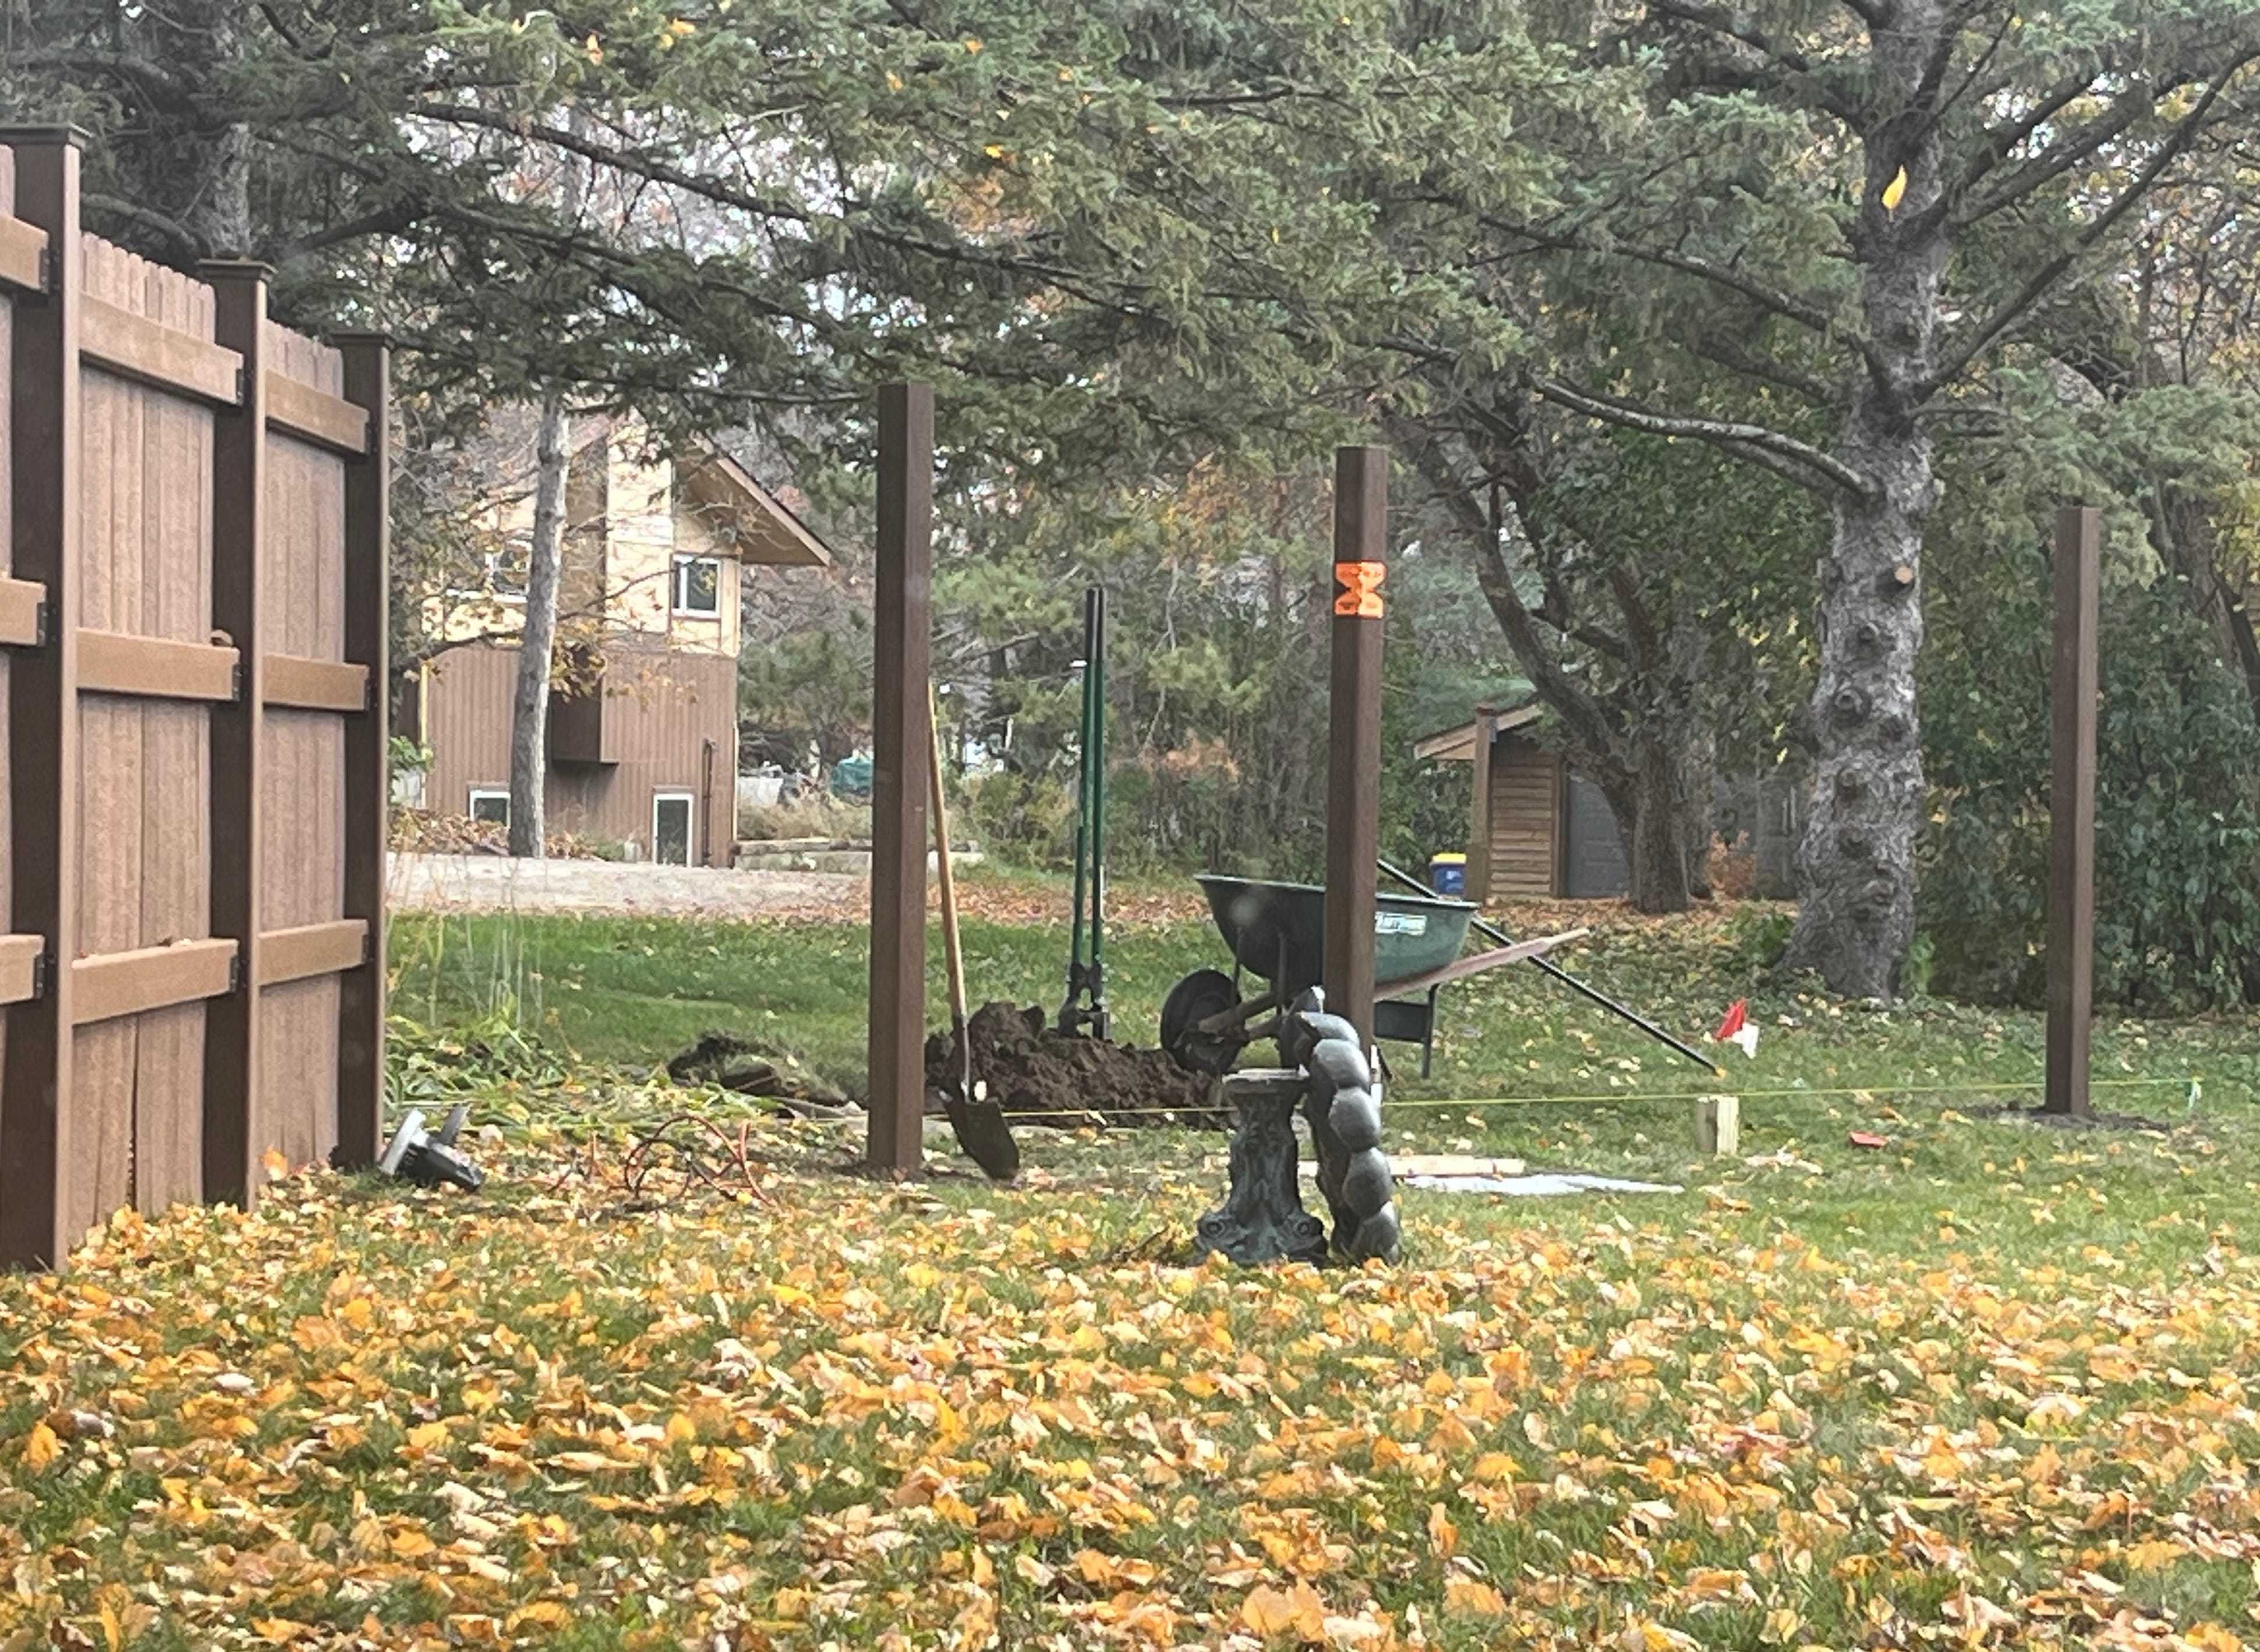
You can see in above photo the orange level used to ensure the post was straight upright. There is a plumb line near the ground to line up everything and last I used a tape measure to ensure the 6 foot on center between posts. Some temporary two by two boards clamp the bottom and hold the post quiet until all three measures are correct.
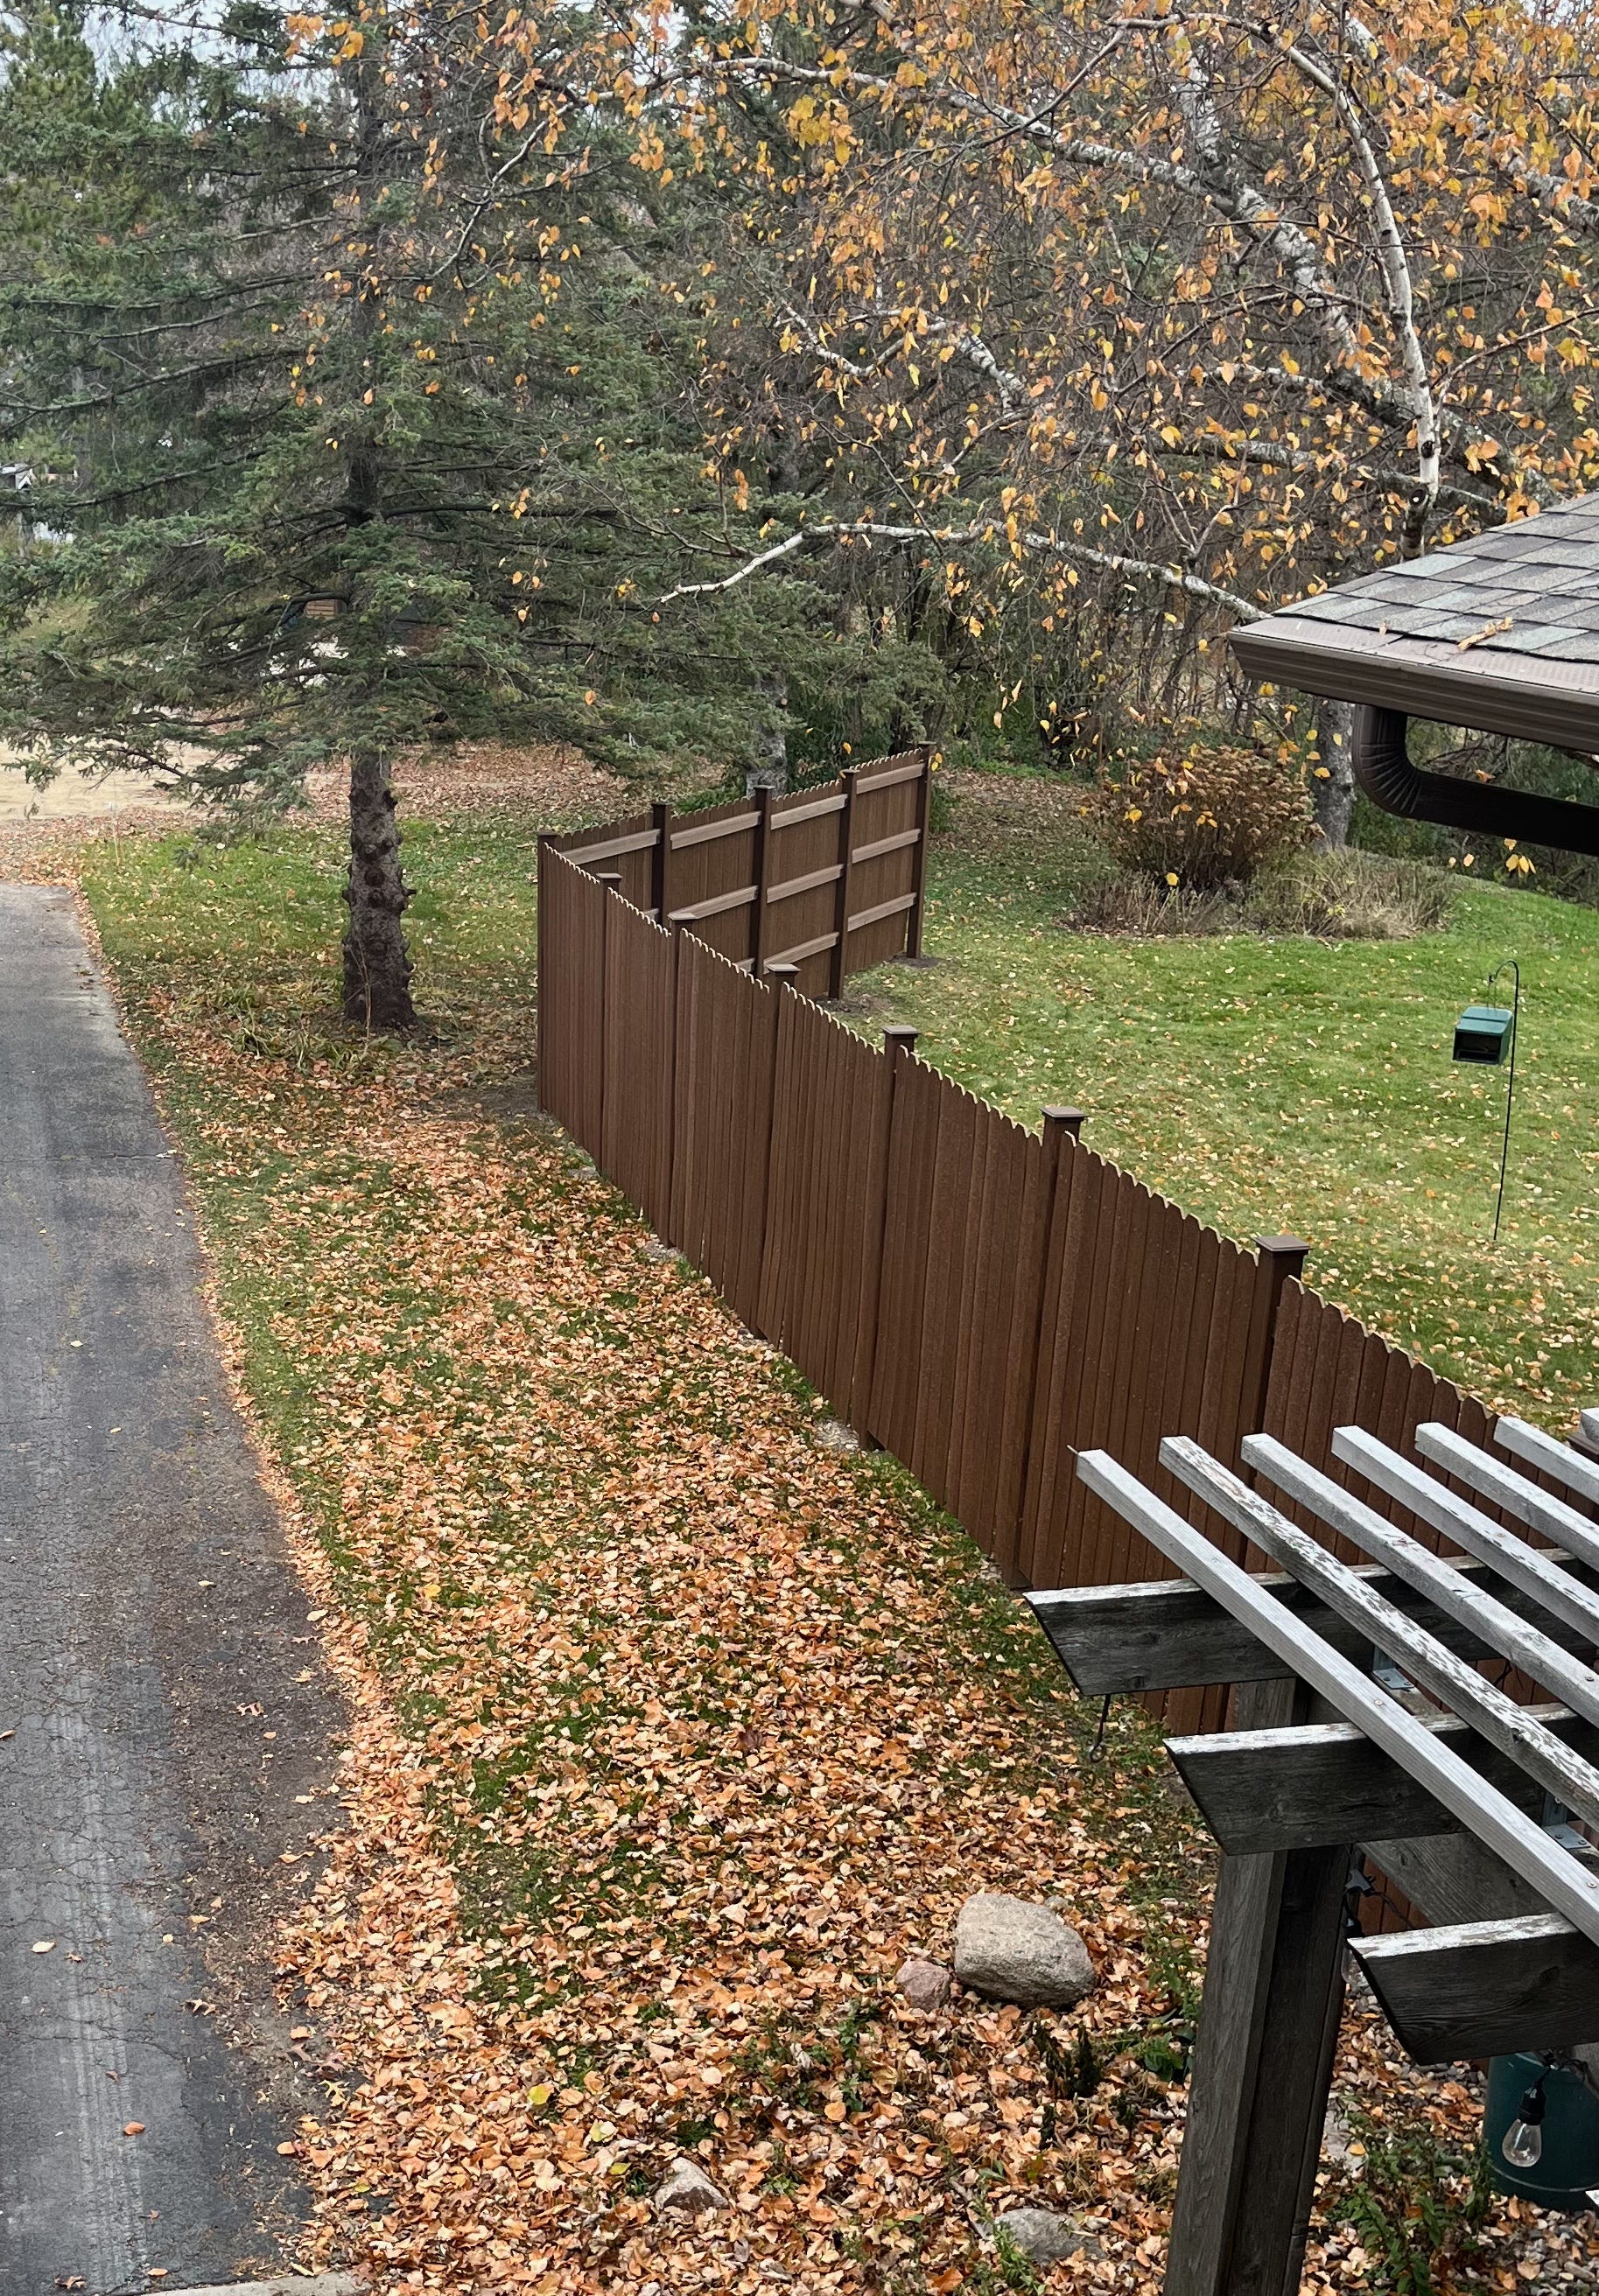
This is how far we went last fall. Again we were happy with the result and the only changes wished for happened this spring. I sourced another pile of pickets and added a course to the back side - now the fence has a more finished look from either side. We added a hedge of winterberry bushes along the driveway last fall and started a wildflower garden this summer on the back side - that’s coming along.
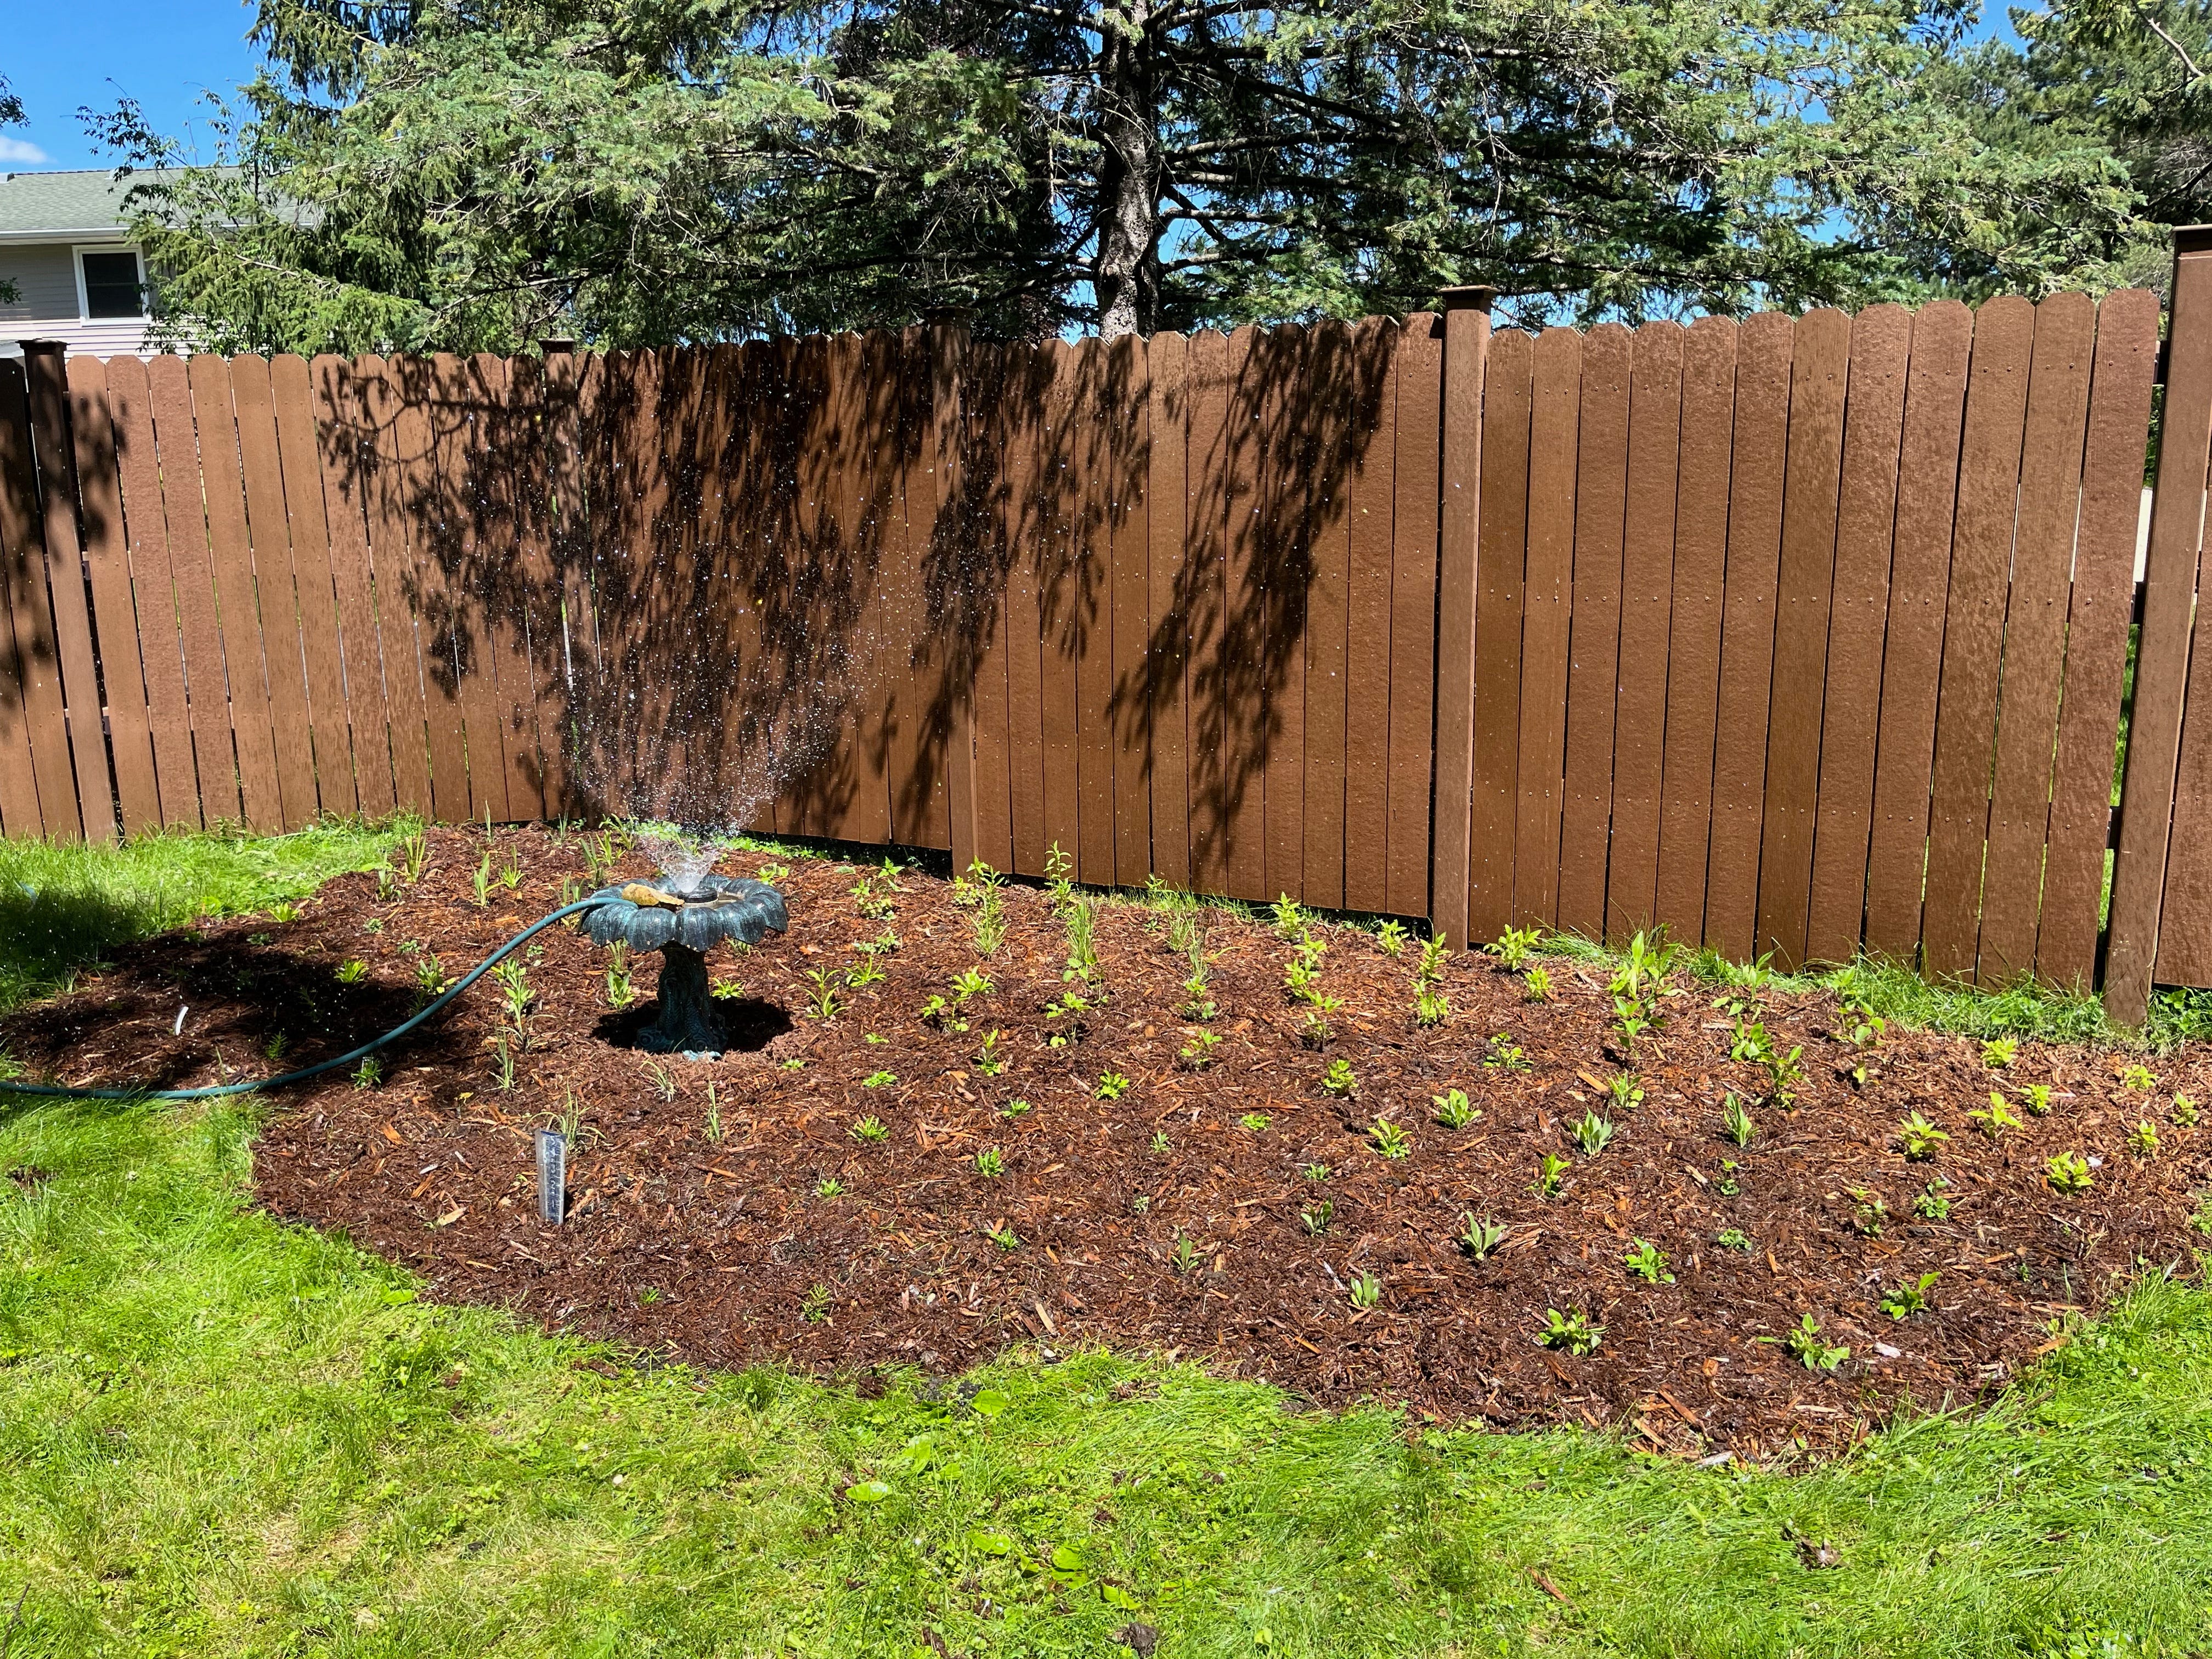
The yard is now super private - I can’t say the highway noise is gone but it is less noticeable for sure. We’ll see how the fence looks as it ages but as we like to say in my family right now ‘it’s good enough for who its for!’
So impressed you took this on as a DIY project. I so admire your patience and skill! And willingness to deal with Menards! :)